外观
FringeShadow
约 1309 字大约 4 分钟
2022-12-17
前提
Nora的卡通渲染使用的UnityChan的方案,缺少前额头发在面部的投影。其实额发投影的实现方式有很多,不过由于最近在重整自定义阴影方案,所以这里使用CustomShadow的方式实现。 这或许并不是额发投影的最佳方案,而且SRP中有更好更简单的做法。
思路
自定义阴影非常简单,由于只用于实现额发在面部的投影,所以可以无需考虑大规模的场景剔除,同时Nora是以输出视频为目的,那么内存和运行性能可以不需要考虑。基于这两点,选择使用类似于投影器的计算思路:
- 计算投影物体(头发)和投影接收物体(面部)的最大包围盒。
- 根据光源设置相机参数,并每帧渲染深度到RenderTexture。
- 在阴影接受中采样RT得到存储的深度并和自身深度比较,得到Visibility。
- 将CustomShadow得到的Visibility插入到原有的阴影计算步骤中。
实现
包围盒
使用包围盒是为了尽可能提高RT像素的利用率,进而提高阴影精度。因此这一步的实现方式有很多,也有可以做一些优化以方便应用到大规模的场景渲染中。 出于方便性的考虑,这里使用球形包围盒。首先得到每个物体自己的包围盒,遍历Mesh的每一个顶点,累加后除以顶点数量,得到物体“重心”也就是包围盒球心。然后根据球心计算到顶点的最远距离即包围盒半径:
foreach (var vertex in vertices)
{
    var vertexPosW = meshTransform.localToWorldMatrix.MultiplyPoint3x4(vertex);
    boundBox.Center += vertexPosW;
}
boundBox.Center /= vertices.Length;
boundBox.m_centerOffset = boundBox.Center - meshTransform.position;

foreach (var vertex in vertices)
{
    var vertexPosW = meshTransform.localToWorldMatrix.MultiplyPoint3x4(vertex);
    boundBox.Radius = Mathf.Max(boundBox.Radius, Vector3.Distance(vertexPosW, boundBox.Center));
}
此后对两个包围盒求最小包络即得到目标包围盒。球形的包围盒合并可以使用球心连线上的四个点来计算:
var direction = Vector3.Normalize(box1.Center - box2.Center);
var points = new Vector3[4];
points[0] = box1.Center - direction * box1.Radius;
points[1] = box1.Center + direction * box1.Radius;
points[2] = box2.Center - direction * box2.Radius;
points[3] = box2.Center + direction * box2.Radius;

var maxPoint = new Vector3(MinPos, MinPos, MinPos);
var minPoint = new Vector3(MaxPos, MaxPos, MaxPos);
foreach (var point in points)
{
    maxPoint = Vector3.Max(maxPoint, point);
    minPoint = Vector3.Min(minPoint, point);
}

var boundBox = new BoundBox
{
    Center = (maxPoint + minPoint) / 2.0f,
    Radius = Vector3.Distance(maxPoint, minPoint) / 2.0f
};
光源相机参数和渲染设置
额发投影使用的光源不建议使用主光源,创建一个不发光的平行光更好。 Unity内置渲染管线中提供了RenderWithShader的相机渲染方式,以及SetReplacementShader的初始化方法。这一方法会在相机渲染时根据提供的Tag和Shader替换原有Shader中的对应Tag的Subshader。在这里,使用投影Shader替换掉Nora原有的NPR渲染。 这一步的初始化中还需要创建生成RenderTexture,设置相机的参数。这里使用的是正交相机,对应参数如下:
mLightCamera.orthographic = true;
mLightCamera.aspect = 1.0f;
mLightCamera.nearClipPlane = 0.0f;
mLightCamera.targetTexture = m_shadowMap;
mLightCamera.backgroundColor = new Color(100000.0f,0,0);
mLightCamera.clearFlags = CameraClearFlags.SolidColor;

mLightCamera.SetReplacementShader(Shader.Find("Nora/ShadowProjector"), "RenderType");
在Update中,根据光源方向和包围盒参数设置相机的position和forward,以及正交视锥体的大小和远裁剪面:
var lightDir = mDirectLight.transform.forward;
var cameraPos = m_boundBox.Center - lightDir * m_boundBox.Radius;
var cameraTransform = mLightCamera.transform;
cameraTransform.position = cameraPos;
cameraTransform.forward = lightDir;

mLightCamera.orthographicSize = m_boundBox.Radius;
mLightCamera.farClipPlane = m_boundBox.Radius * 2;
最后还需要向Shader中传递一些可能需要使用到的参数,比如光源相机VP矩阵,相机位置等:
Shader.SetGlobalTexture(CustomShadowMap, m_shadowMap);
Shader.SetGlobalVector(CustomShadowCameraPos, mLightCamera.transform.position);
Shader.SetGlobalVector(CustomShadowCameraForward, mLightCamera.transform.forward);
Shader.SetGlobalMatrix(CustomShadowViewProjectMatrix, projectionMatrix * viewMatrix);
Shader.SetGlobalMatrix(CustomShadowWorldToCameraMatrix, mLightCamera.worldToCameraMatrix);
深度计算
这一步在Shader中处理。
投影器部分
投影部分十分简单,由于使用正交投影,直接利用顶点和光源相机的世界空间位置计算得到距离,然后投影到Z轴上即可:
float GetDepth(float4 vertexW)
{
    float dist = distance(_CustomShadowCameraPos, vertexW);
    float3 direction = normalize(vertexW - _CustomShadowCameraPos);
    float cosT = dot(direction, _CustomShadowCameraForward);

    return dist * abs(cosT);
}
接收器部分
这一部分首先类似投影器得到深度值,随后将世界空间位置转换到光源相机的裁剪空间以得到shadowCoordinate,根据这个坐标采样RT即得到ShadowDepth。 然后对比ShadowDepth和自身的Depth得到visibility:
float GetVisibility(float4 vertexW)
{
    float4 vertexVP = mul(_CustomShadowViewProjectMatrix, vertexW);
    float2 shadowCoord = ComputeLightSpaceUV(vertexVP);

    float depth = GetDepth(vertexW);
    float shadowDepth = tex2D(_CustomShadowMap, shadowCoord.xy).x;
    float Visibility = GetShadow(depth - 0.00001, shadowDepth);
    return  Visibility;
}
这里对比过程就有很多优化方式了。直接对比会得到非零即一的值,当阴影精度不高时就会出现大量锯齿。这里可以使用PCF模糊边缘得到软阴影,下回分解。也有其他Shadow编码方式,如VSM,ESM,CSM,MSM等,下回分解。
将Visibility插入现有计算
Nora现有的计算使用Unity酱的卡渲方案,原始代码如同ShitHill。不过好歹还是有能看的变量名,虽然有使用Unity原生的Attenuation函数,但是把得到的Visibility项乘上去之后并没有什么变化:)。RGB调试之后找到最终的ShadowMask,然后叠上去再saturate一下就好。
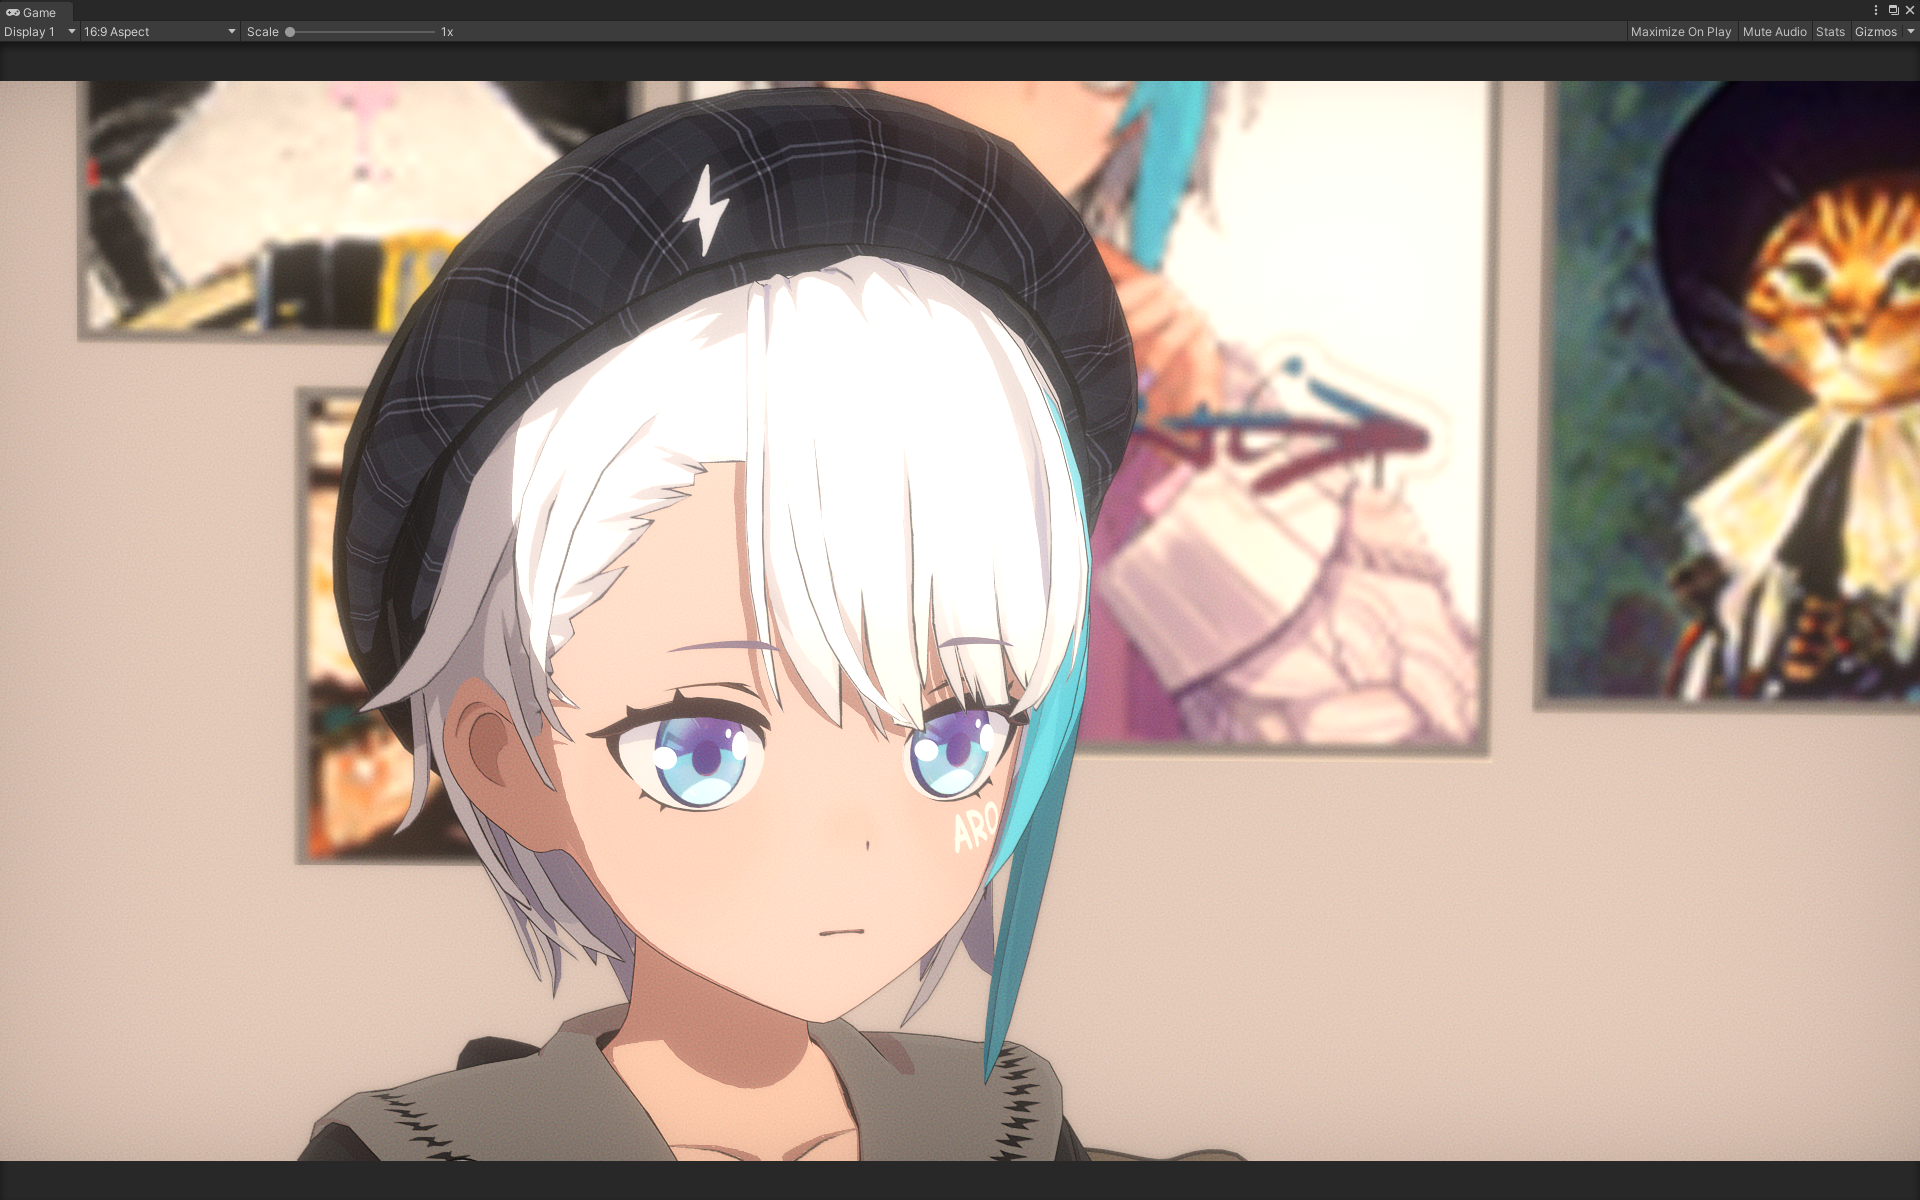
虽然没有使用软阴影计算,但是好在投影区域小且RT分辨率高,TAA拍上去之后效果还行:

