外观
Eye
约 2792 字大约 9 分钟
2022-12-17
原理
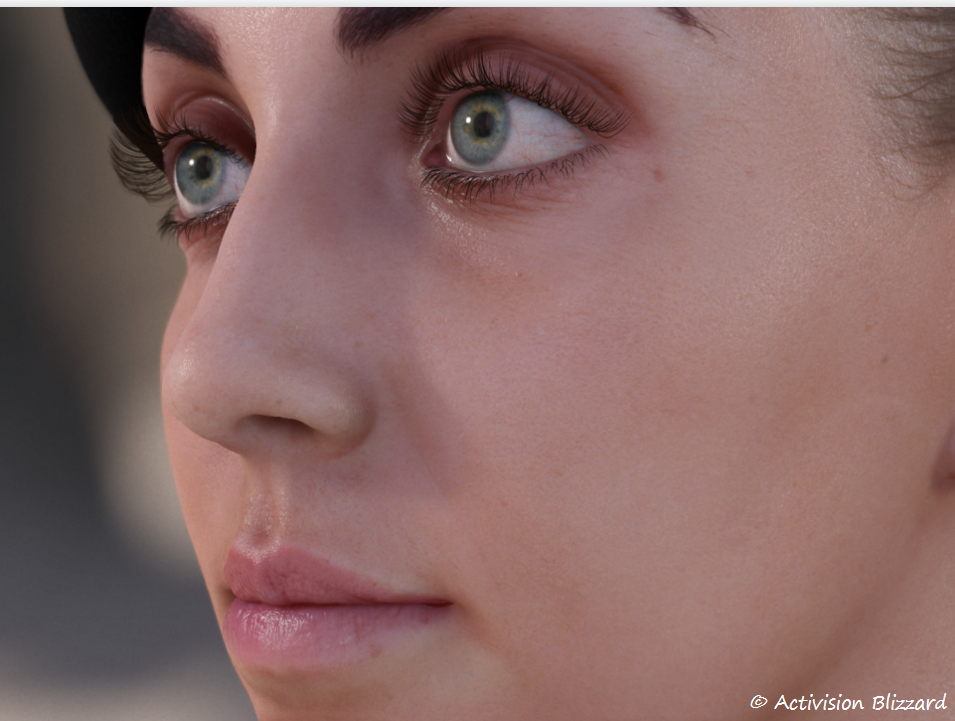
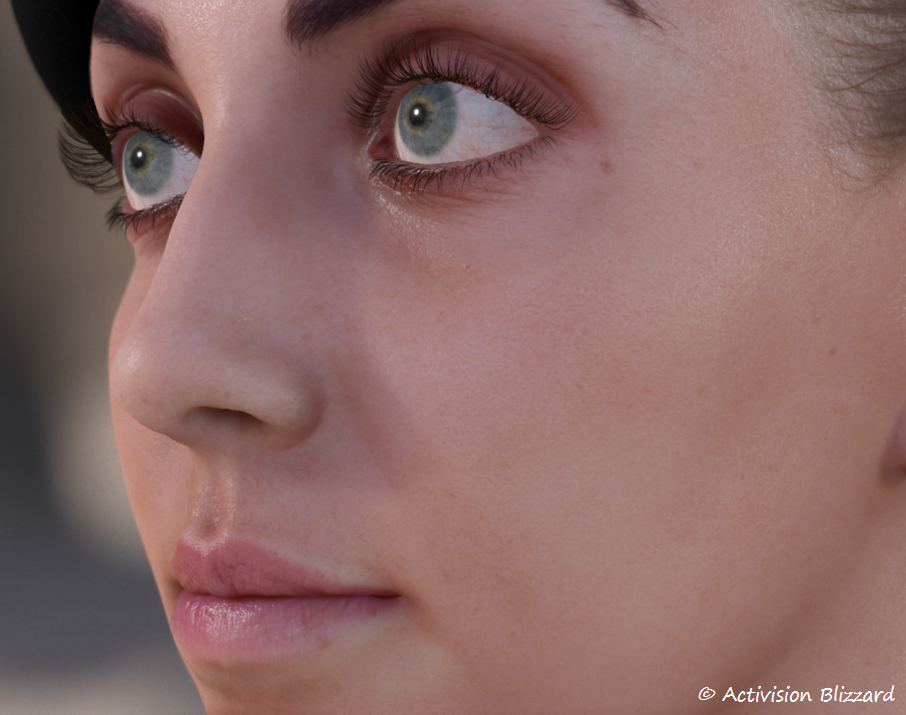
动视暴雪 2013 GDC分享
完整PPT:Jorge Jimenez – Next Generation Character Rendering (iryoku.com)
 |  |
|---|
渲染特性
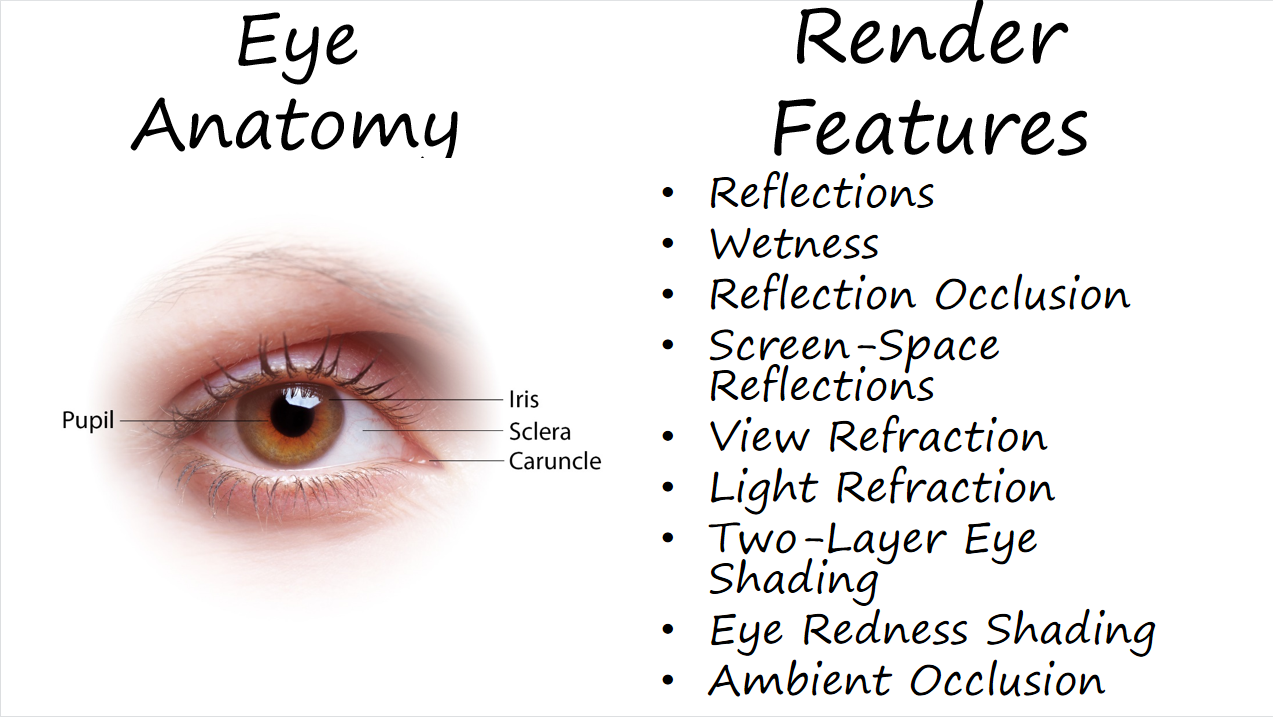
- 反射
- 湿润
- 反射遮蔽
- 屏幕空间反射
- 视线折射
- 光线折射
- 双层眼睛着色
- 眼部血丝渲染
- 环境光遮蔽
反射
 |  |  |  |
|---|
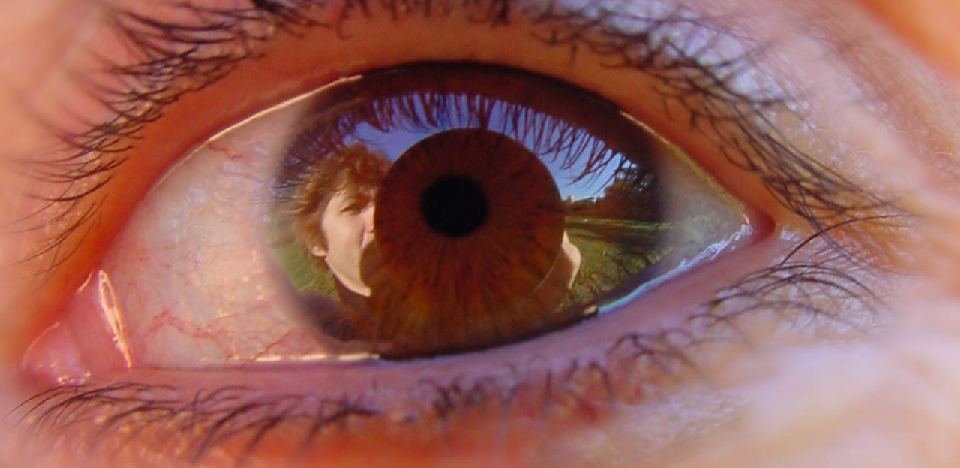
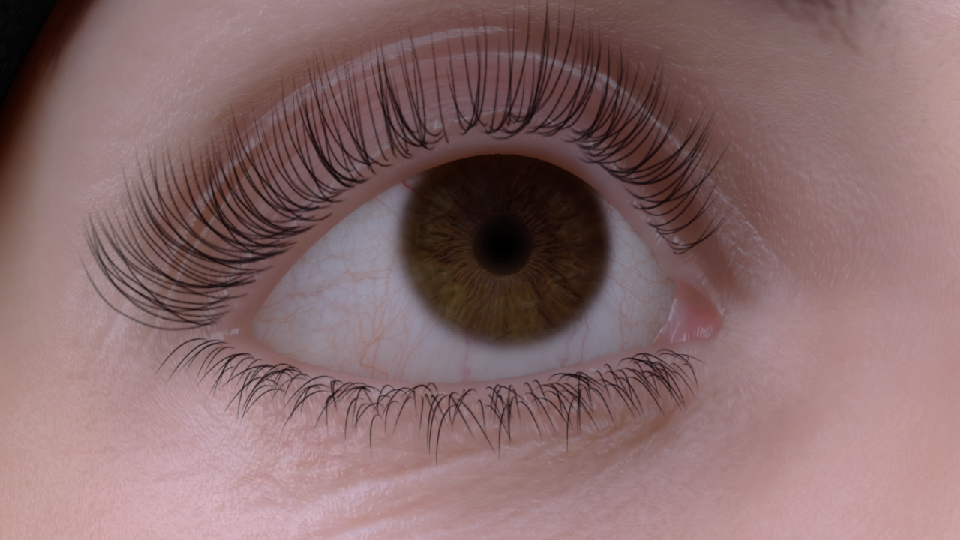
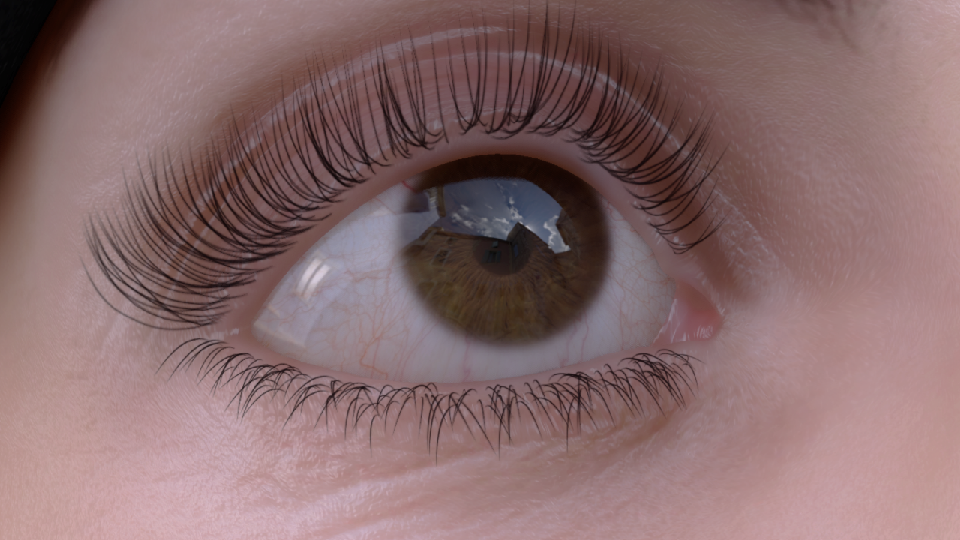
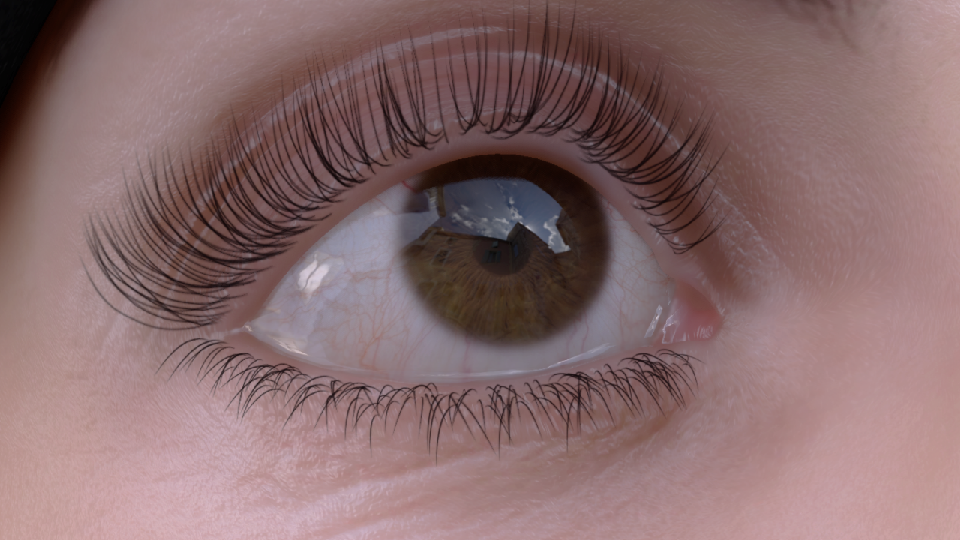
- 真实眼部 2. 无反射 3. 镜面反射 4. 动视暴雪的反射
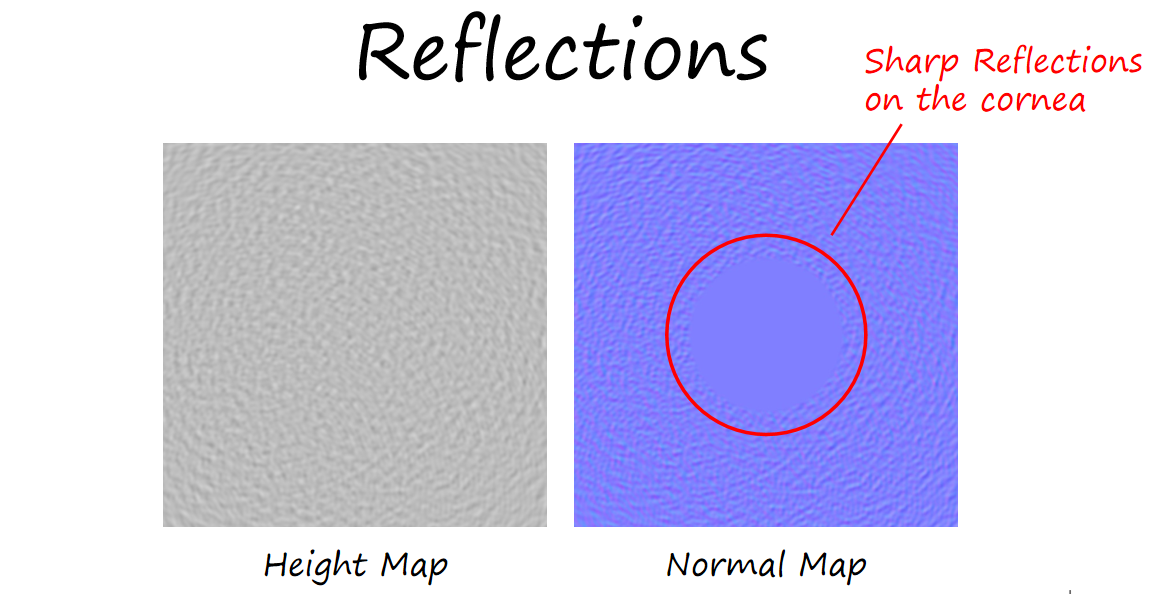
为了使反射具有一定的真实感,使用了和皮肤渲染相同的细节法线纹理(100个随机正弦波的叠加)。细节法线带来的扭曲可以较好的体现眼部细节。
湿润
- 湿润是如何在眼睛的表现中展示的?
- 拍摄不同状态的眼睛以研究这一问题。
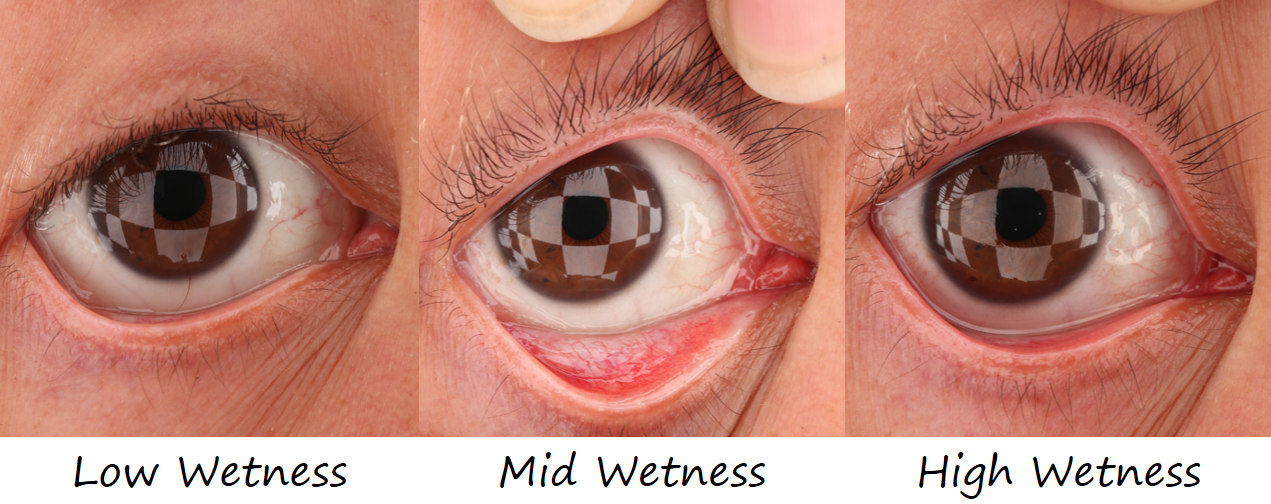
不同干湿程度的眼球表面有不同的波纹(更大振幅和波长????喵喵喵???)
大概是给定参数调整法线的scale值
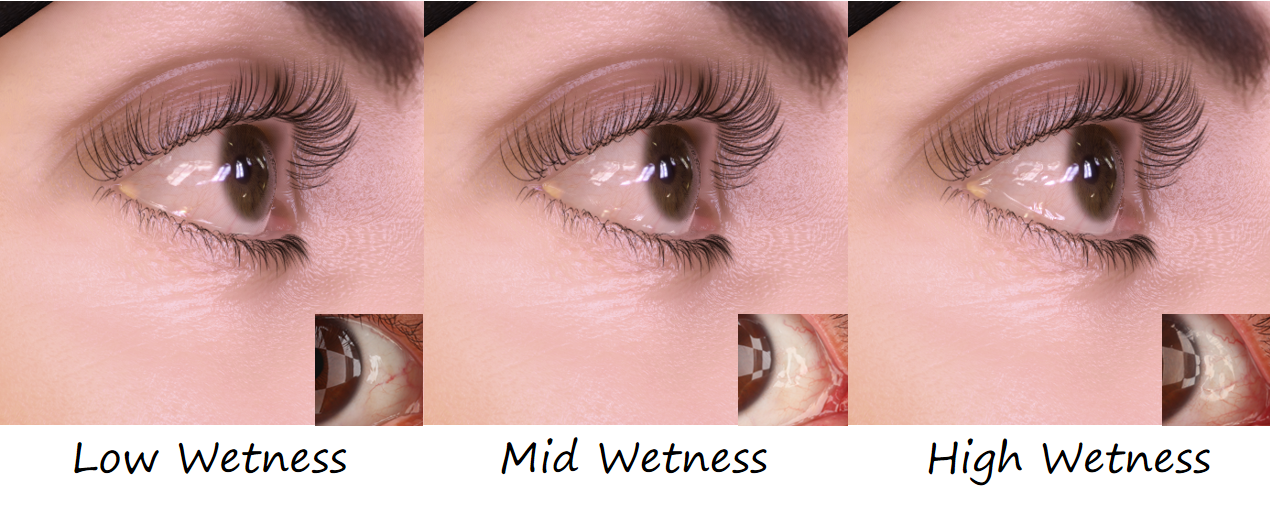
似乎帮助不大,不过从远处看感觉还行:
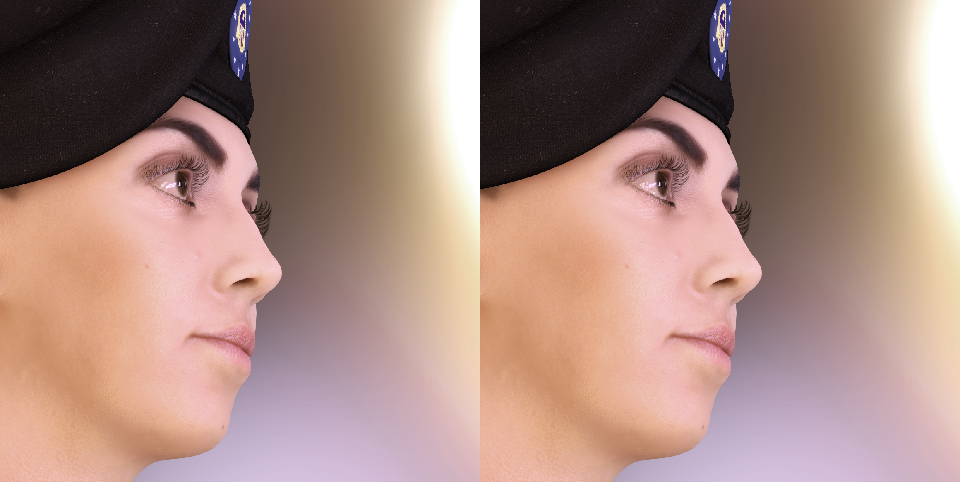
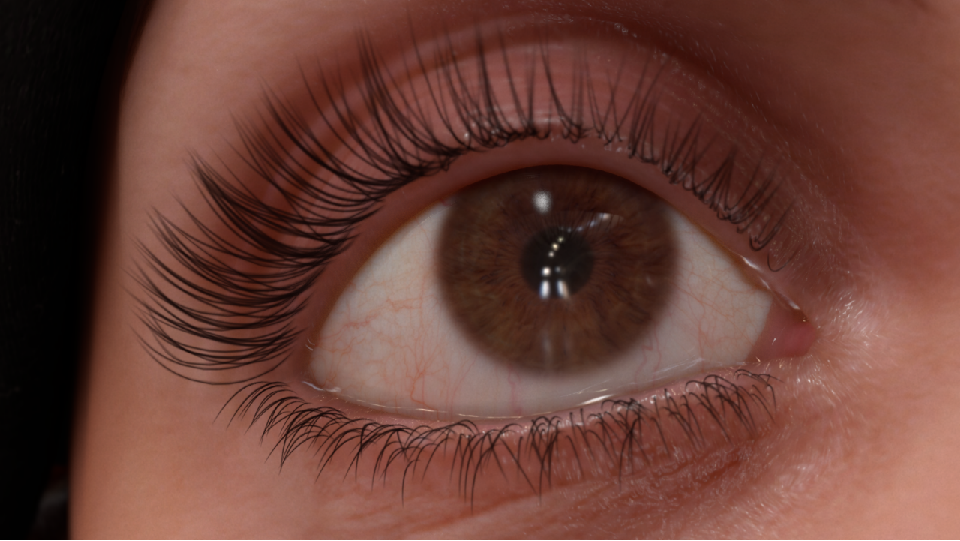
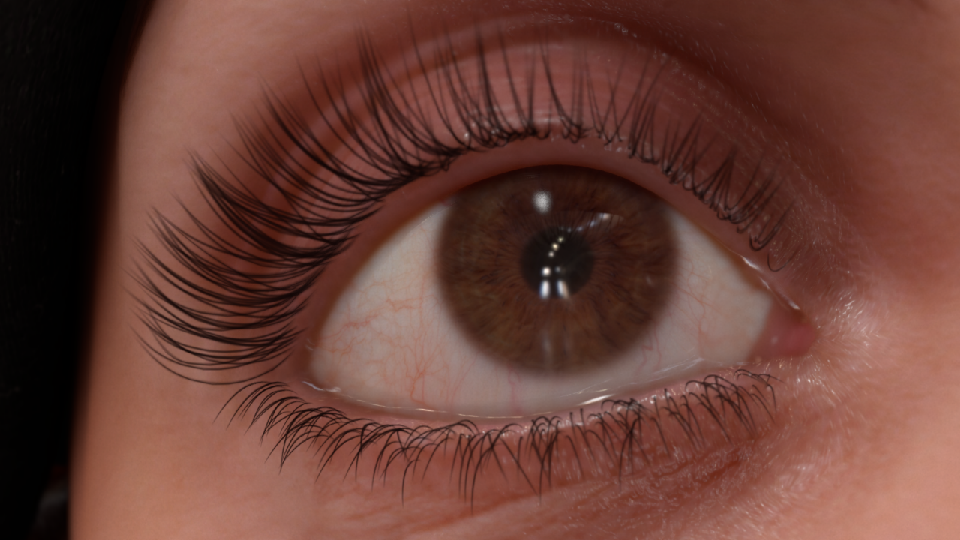
关于湿润效果的表现增加了一个方案:眼周透明面片

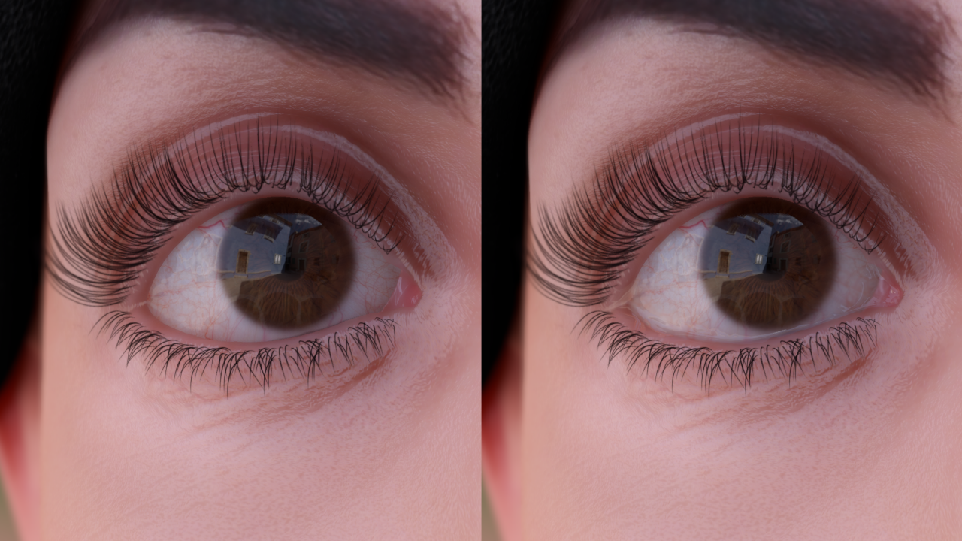
同时需要对背景叠加一定的模糊效果,这样可以柔化皮肤和眼部的接缝线
 |  |
|---|
关于眼球的湿润,以上提到了两点线索:
- 眼泪导致的反射扭曲
- 眼睑上的眼泪
不过还有更多表现湿润的现象:
- 反射强度
- 粗糙度
- 多层薄膜反射
- 薄膜干涉
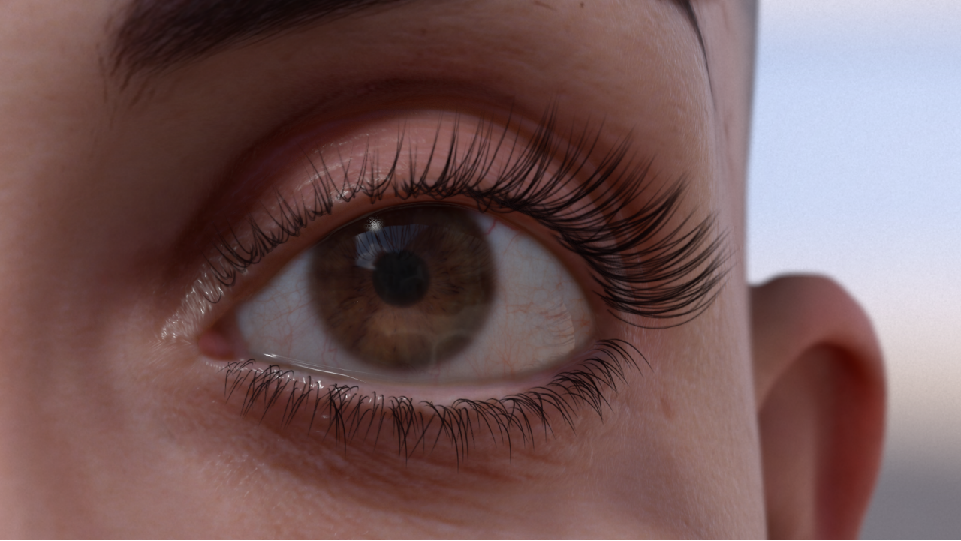
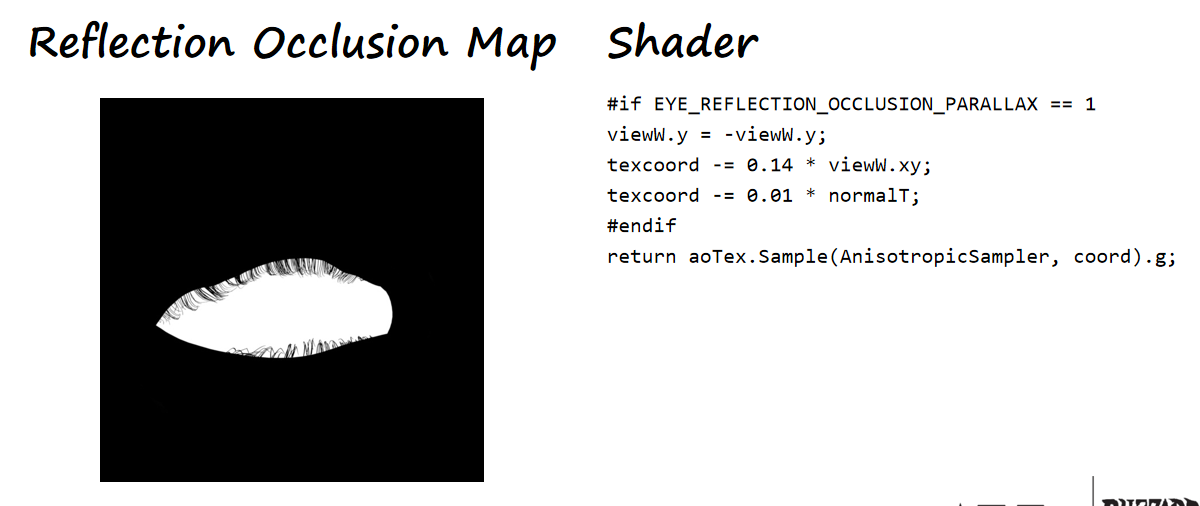
反射遮蔽
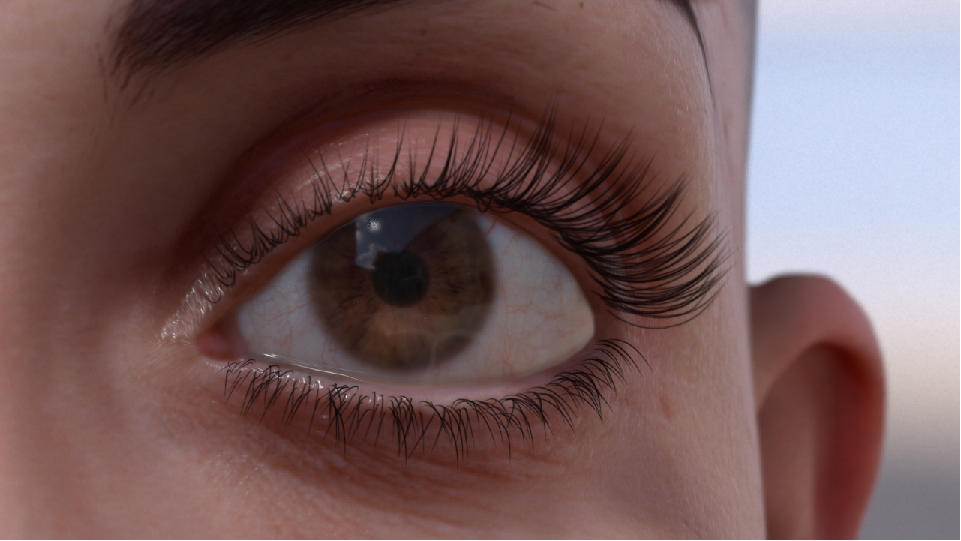
主要来源于眼睑和睫毛。
 |  |
|---|
这里使用了一张预烘培的遮罩图,同时根据视线方向和法线方向稍微修改了一下采样坐标。
屏幕空间反射
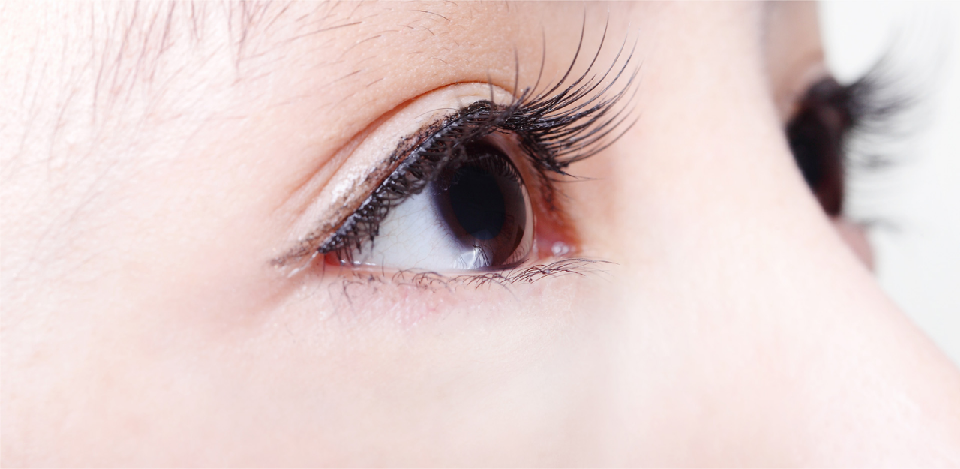
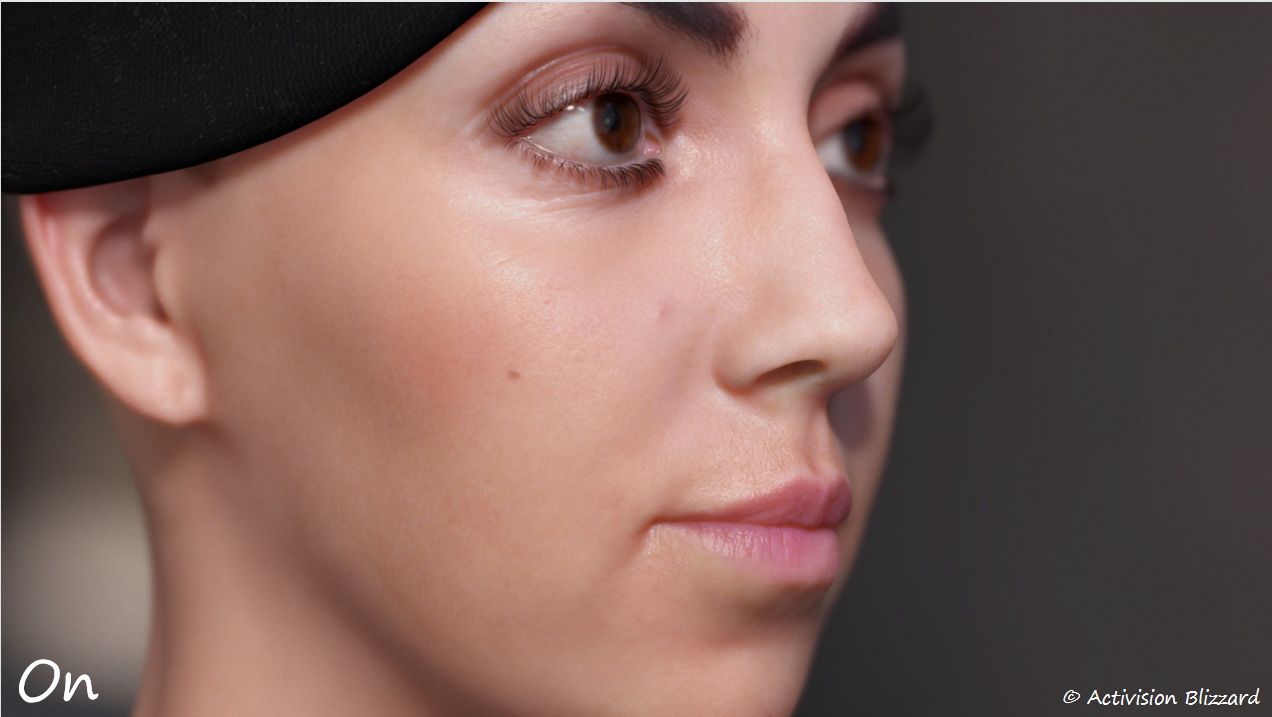
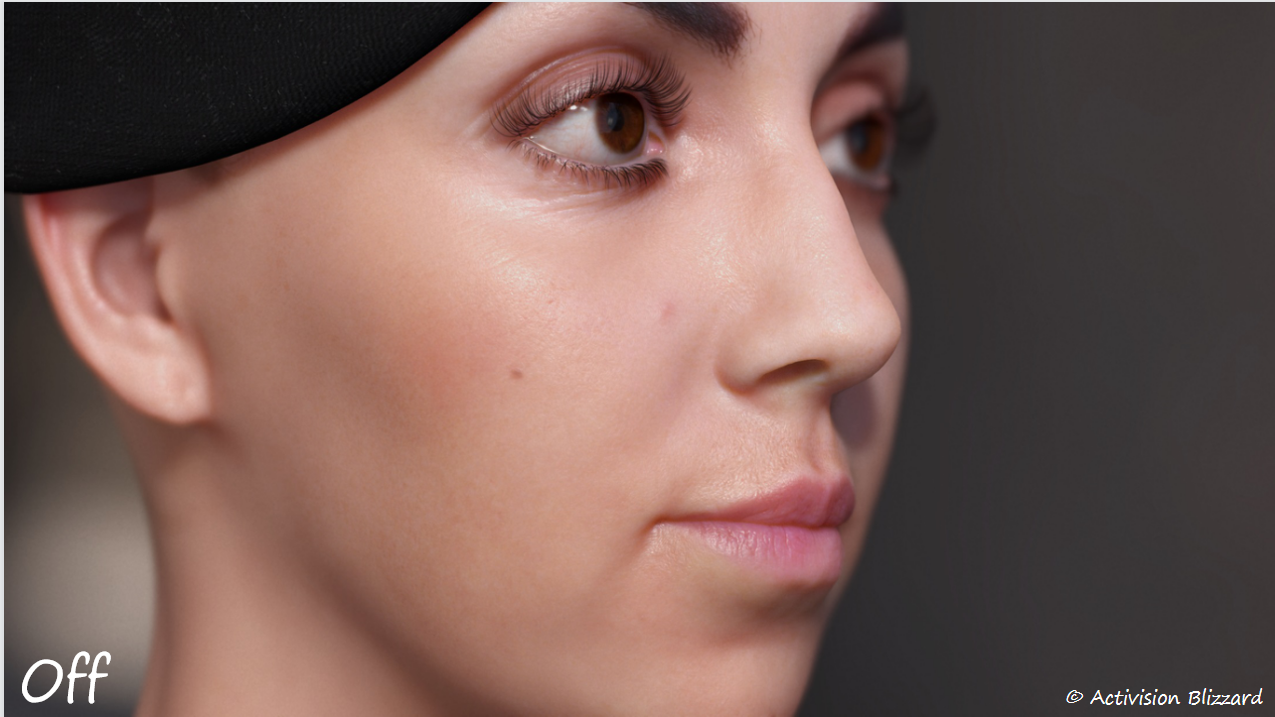
某些场景中,仅仅环境遮挡是不够的。鼻子的颜色也可能反射到眼睛中。。
 |  |  |
|---|
视线折射
理论和分析
 |  |
|---|
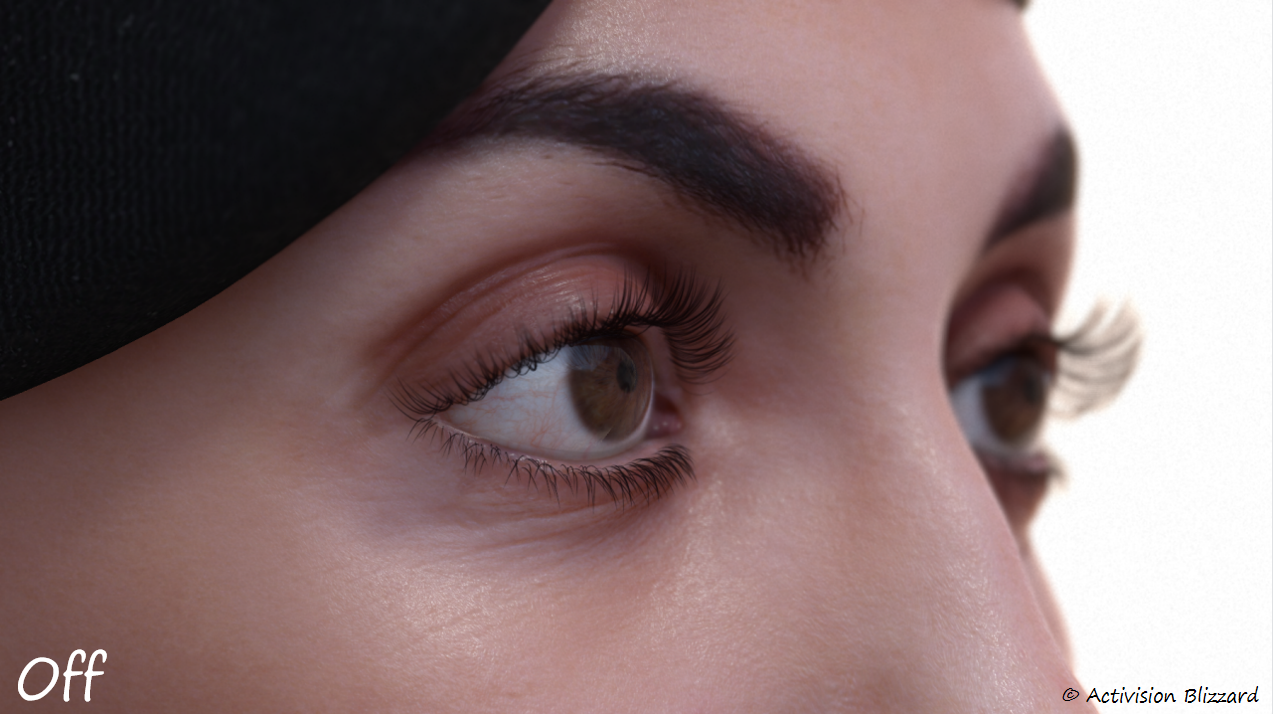
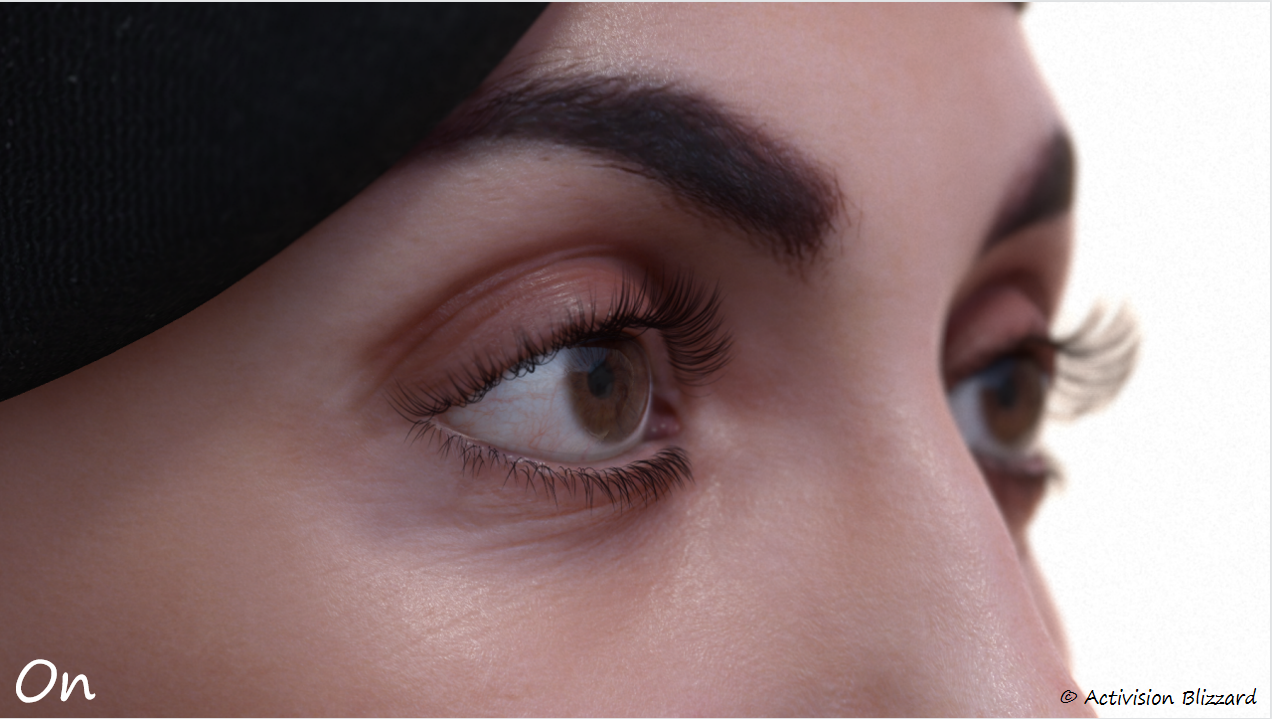
当从侧面看时会比较明显,没有眼部折射会使眼睛看上去像牛眼。。。
具体实现
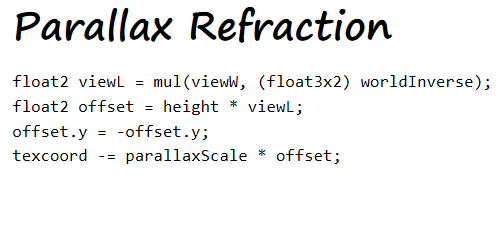
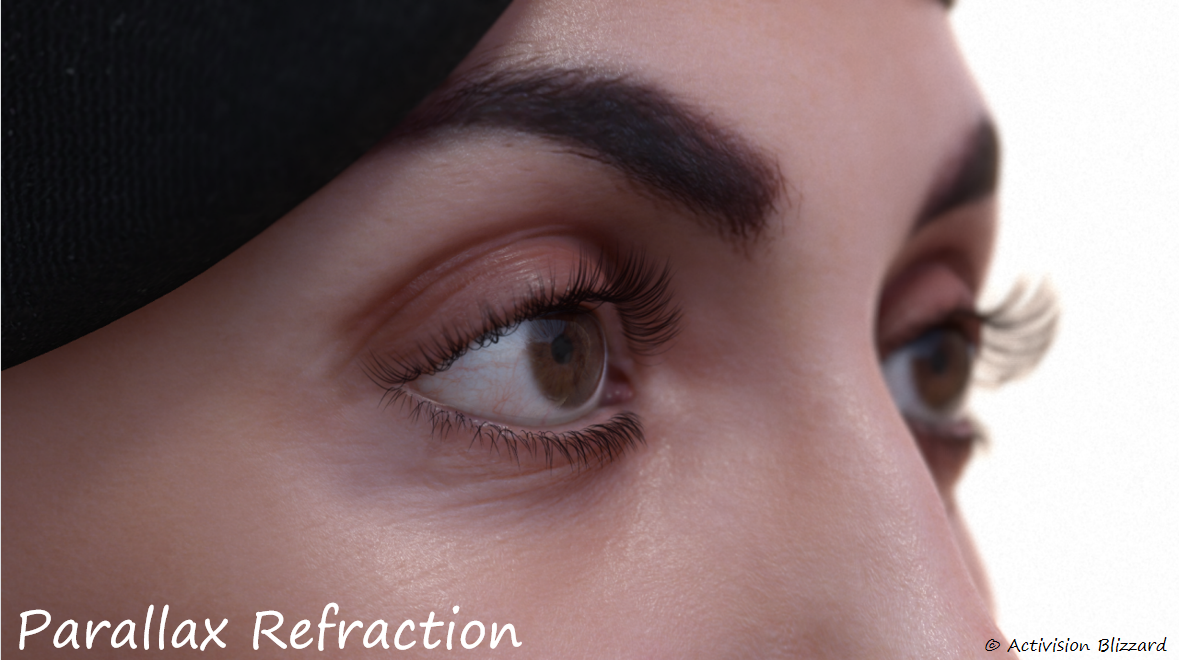
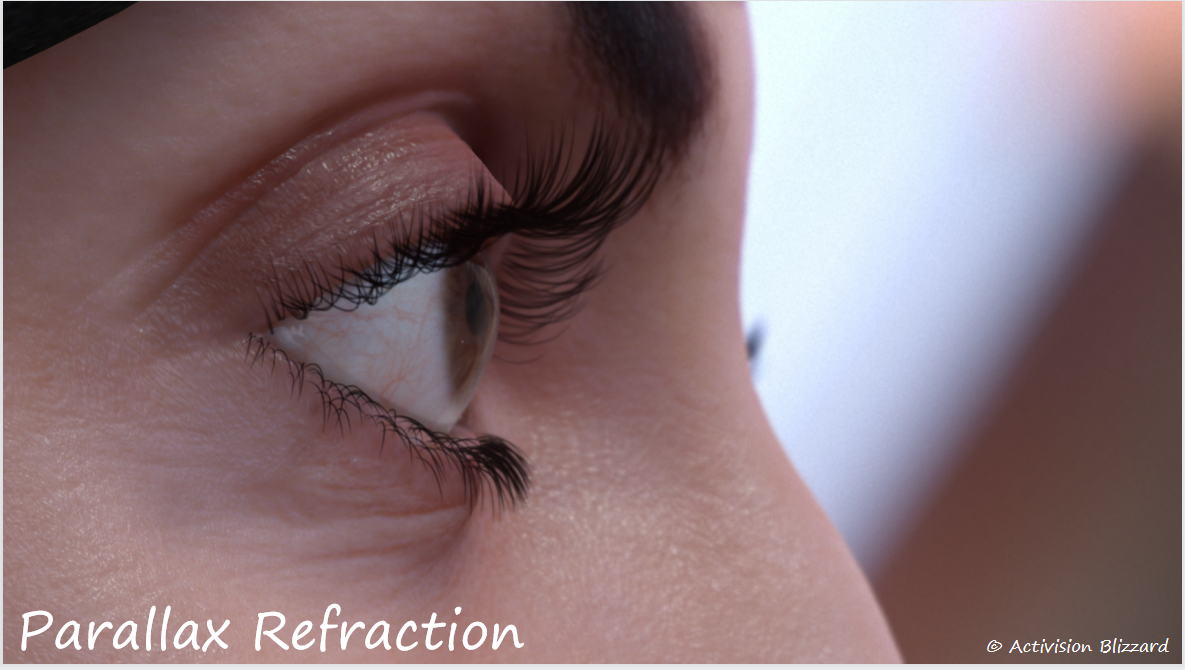
动视尝试了两种实现方案:
- Parallax mapping
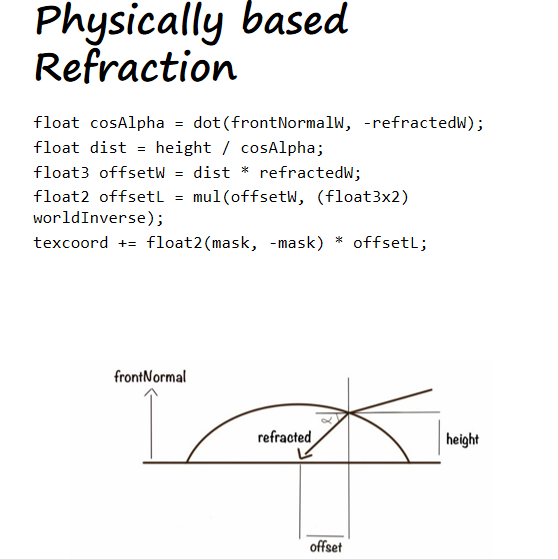
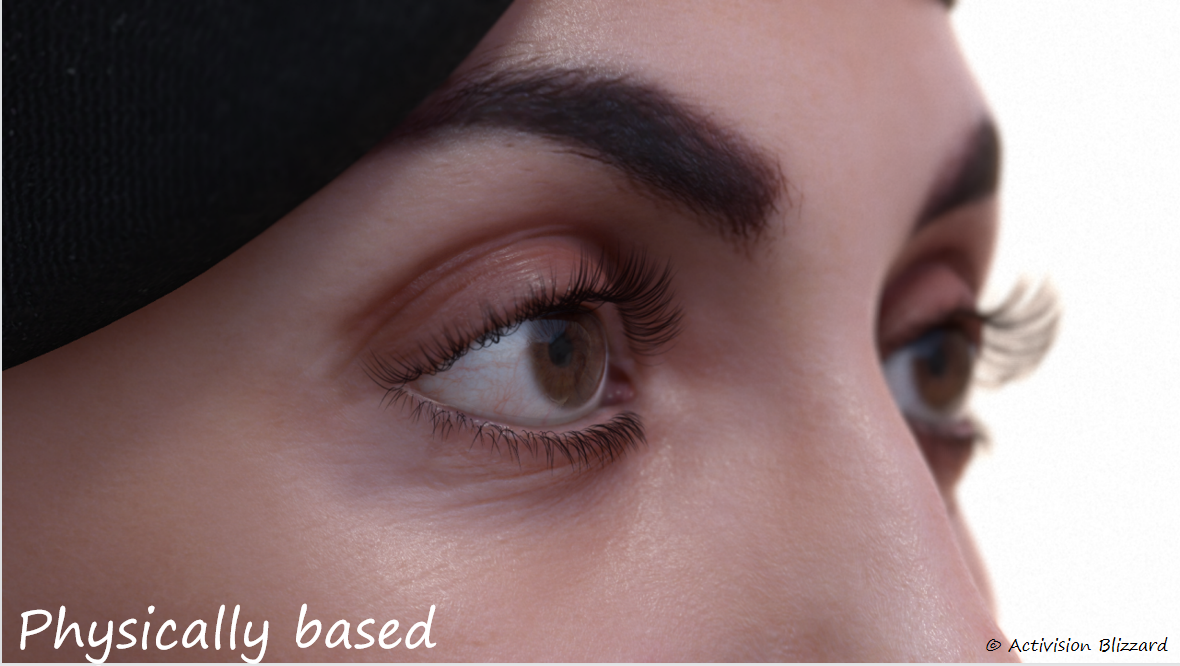
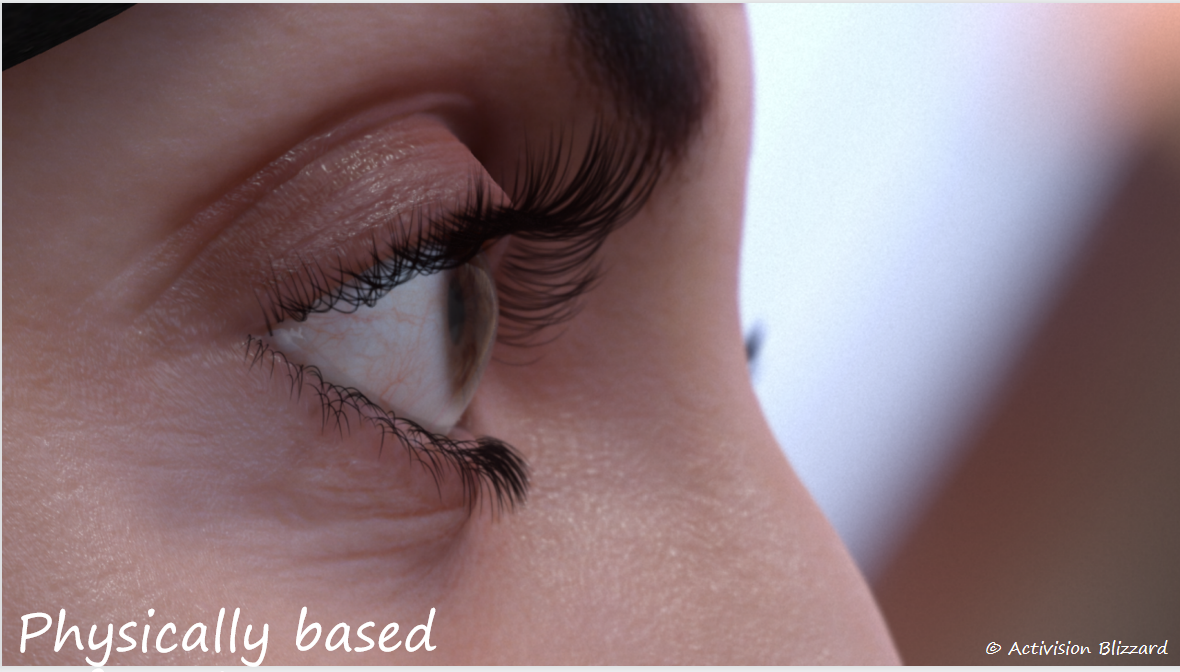
- Physically Based Refraction
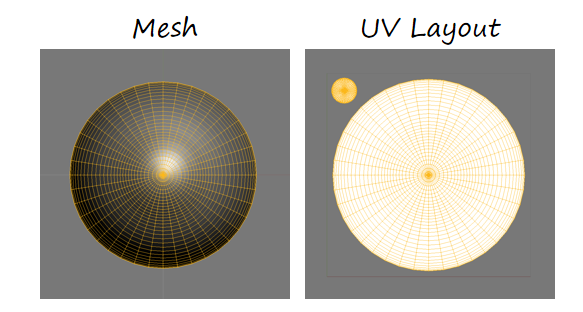
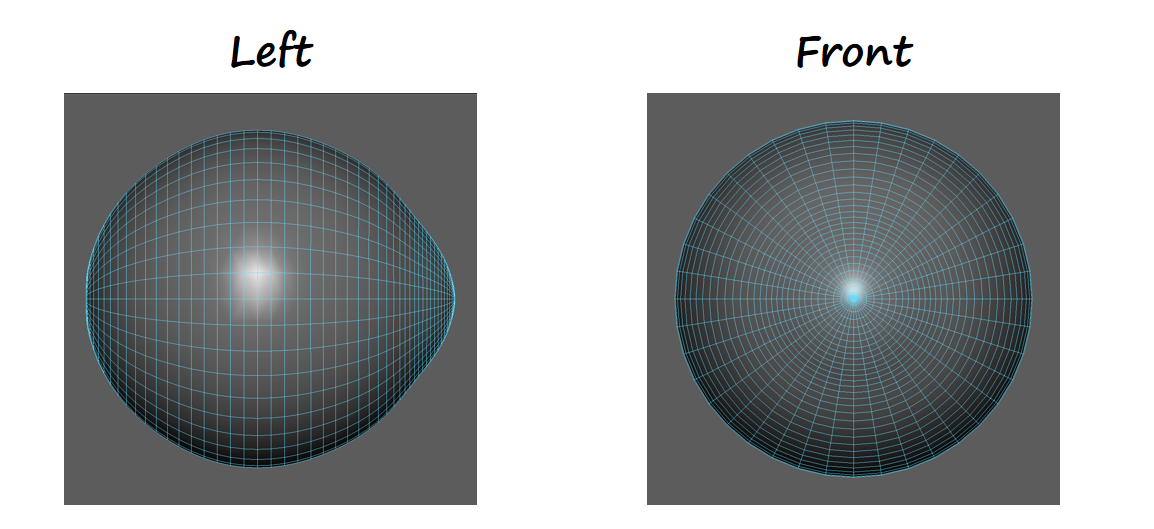
UV和Mesh要求:
- XY coordinates in 0..1 range
- UV matches XY coordinates
- 虹膜和瞳孔部分的小突出是必要的
 |  |
|---|
代码和效果
 |  |  |
|---|
 |  |  |
|---|
基于物理的部分:
- mask是一个二值化的遮罩图,区分虹膜和巩膜
- frontNormal是眼睛注视的方向
- "height"一般两种计算方式:
- 来自数据:height = max(-positionL.z - eyeIrisDepth, 0.0);
- 程序化:anteriorChamberDepth saturate( 1.0 - 18.4 radius * radius );
- anteriorChamberDepth 是角膜到虹膜的最大距离,建议值是3.23mm。
- refractedW由以下方式计算:
- float w = n * dot( normalW, viewW );
- float k = sqrt( 1.0 + ( w - n ) * ( w + n ) );
- float3 refractedW = ( w - k ) normalW - n viewW;
重要的一点是:虹膜和角膜必须在一个mesh上同时渲染然后混合。
角膜缘渲染
也就是混合虹膜和巩膜使用的函数
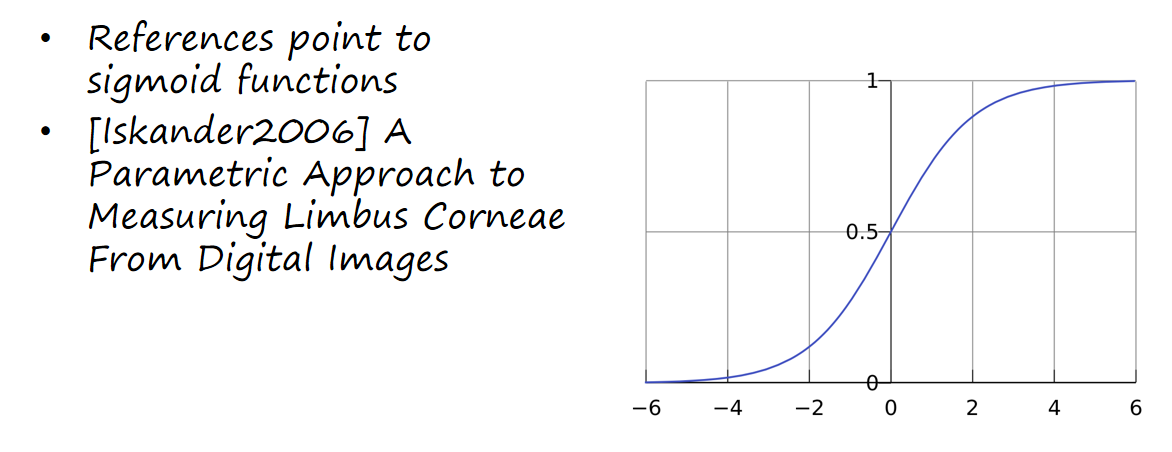
光的折射
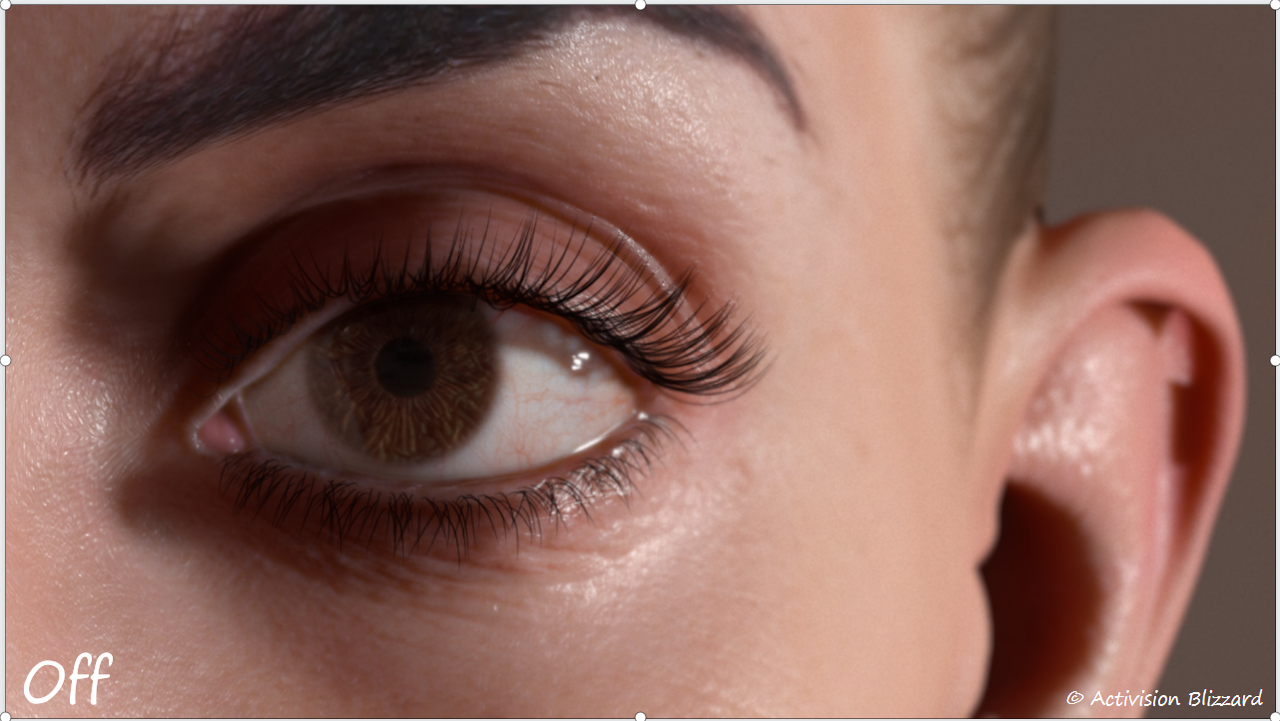 | 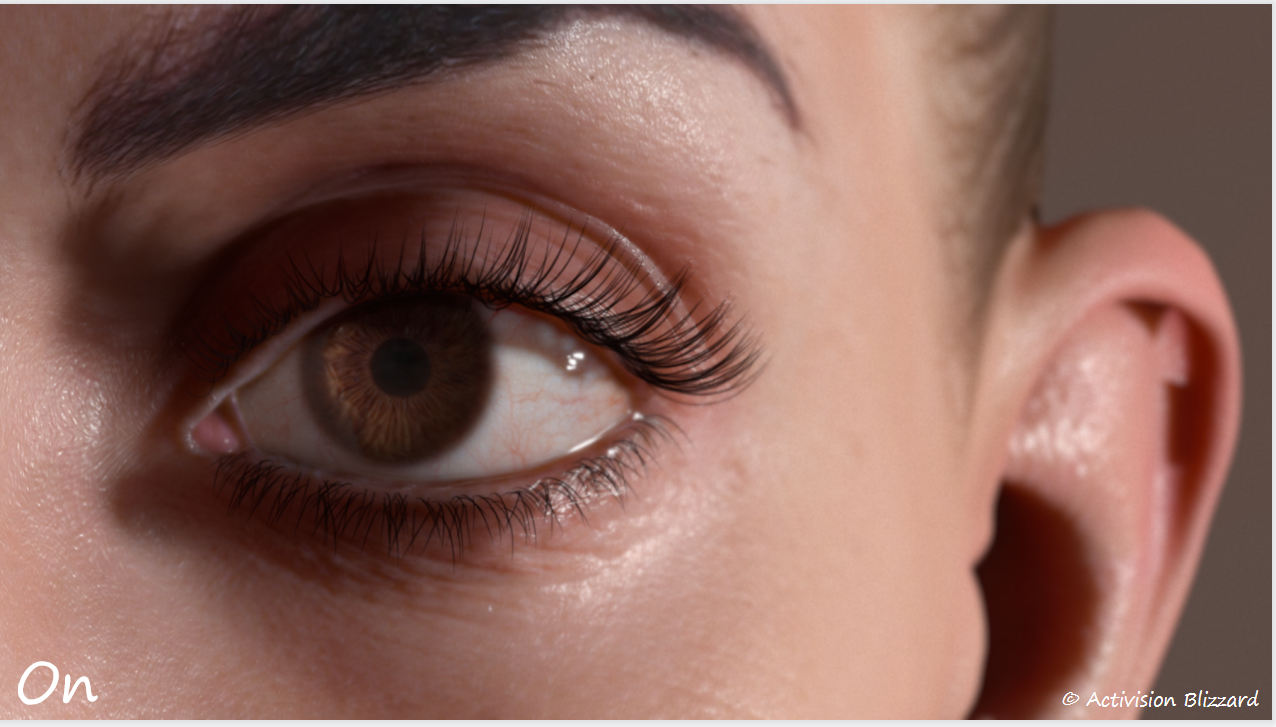 |
|---|
动视使用了基于预计算的光线折射
- 参考了之前的工作
- [Francois09] Image Based Modeling and Rendering of the Human Eye
- Image-Based Modeling of the Human Eye
- 使用光子映射烘培
- 使用非平坦的虹膜
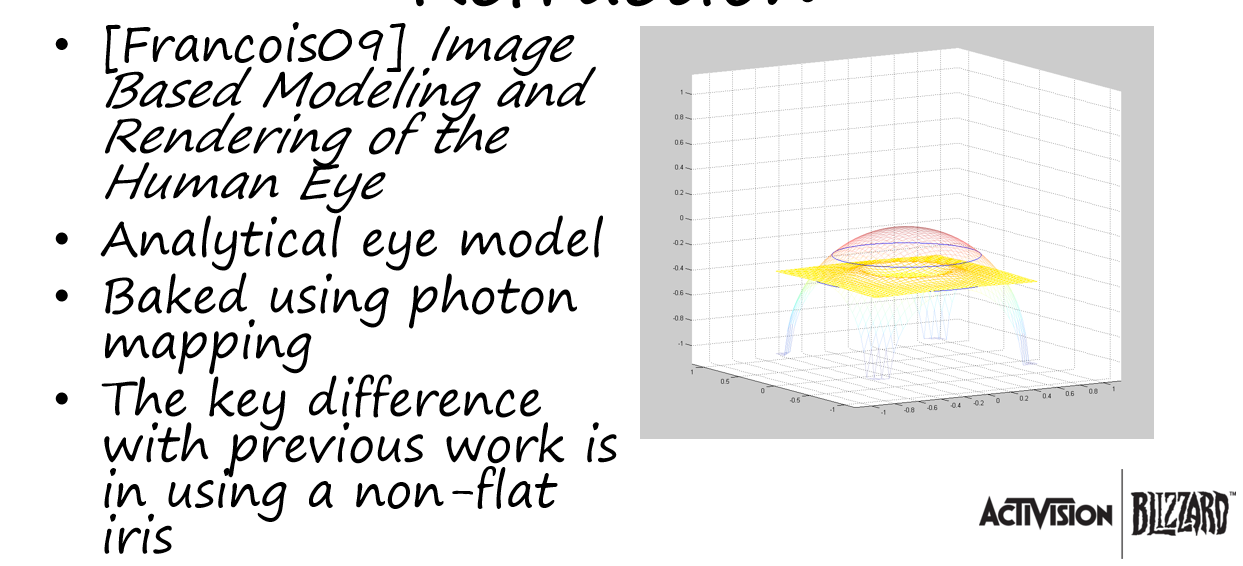
- 对于一般光源,使用了光子映射得到预计算结果并存储到128层的256x256的3D纹理中。
- 对于光照探针,将各个方向的光线积分后存储到单张纹理中
- 其实可以使用球谐函数编码以保存各个方向上的信息
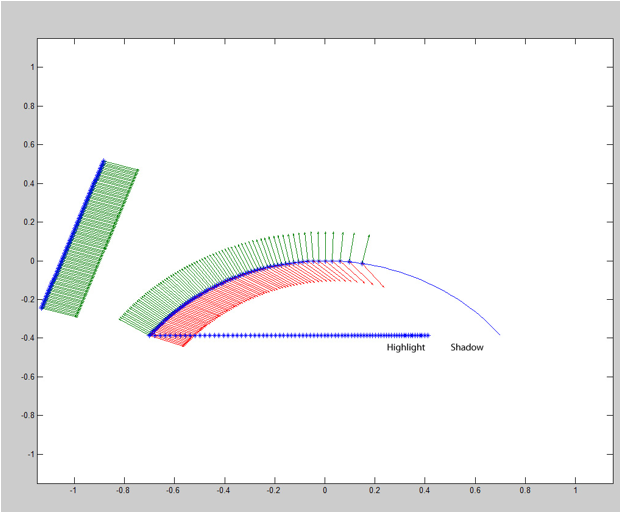
从图中可以看出,左侧的光线在界面发生折射而出现疏密分布,投影在平面上就造成了高光和阴影区域。这也是角膜缘的物理来源。另外,如果光线无法到达,那么视线同样无法到达角膜缘。
如果没有考虑次表面散射,线性的光会在球面上产生非常硬的过渡。
- 考虑能量守恒会有所帮助
- 利用幂函数使过渡有一个更长的拖尾会使得看上去像SSS
- http://blog.stevemcauley.com/2013/01/30/extension-to-energy-conserving-wrapped-diffuse/
- float3 wrappedDiffuse = LightColour pow(saturate((dot(N, L) + w) / (1.0f + w)), n) (n + 1) / (2 * (1 + w));
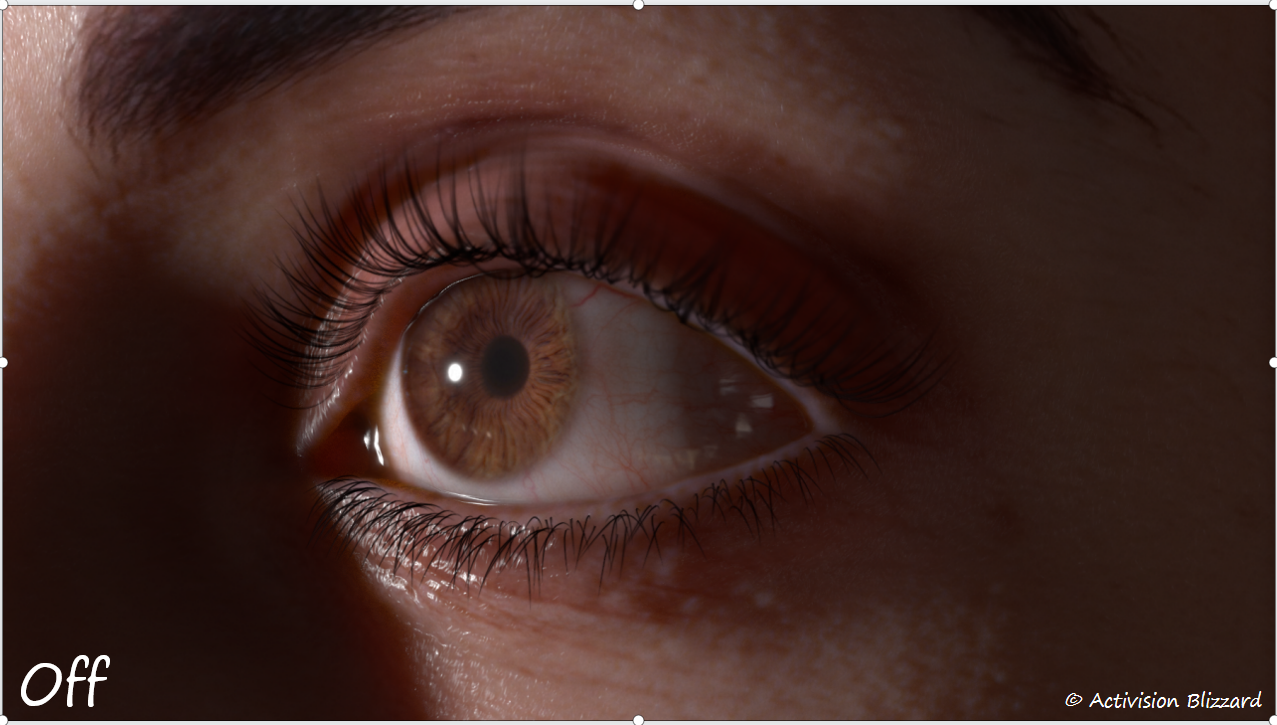 | 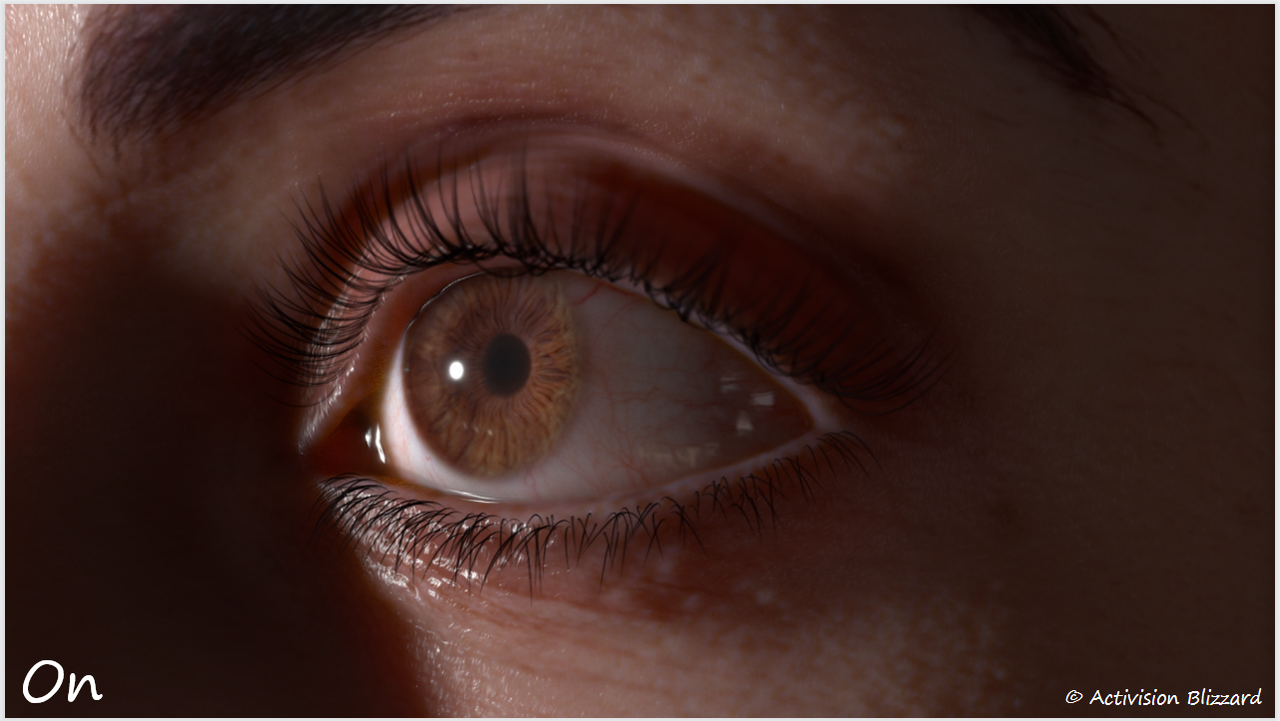 |
|---|
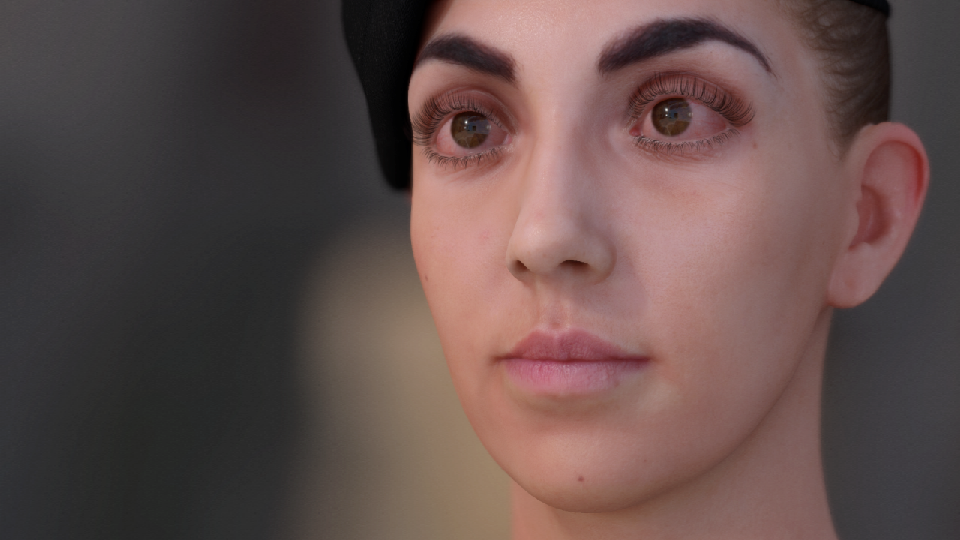
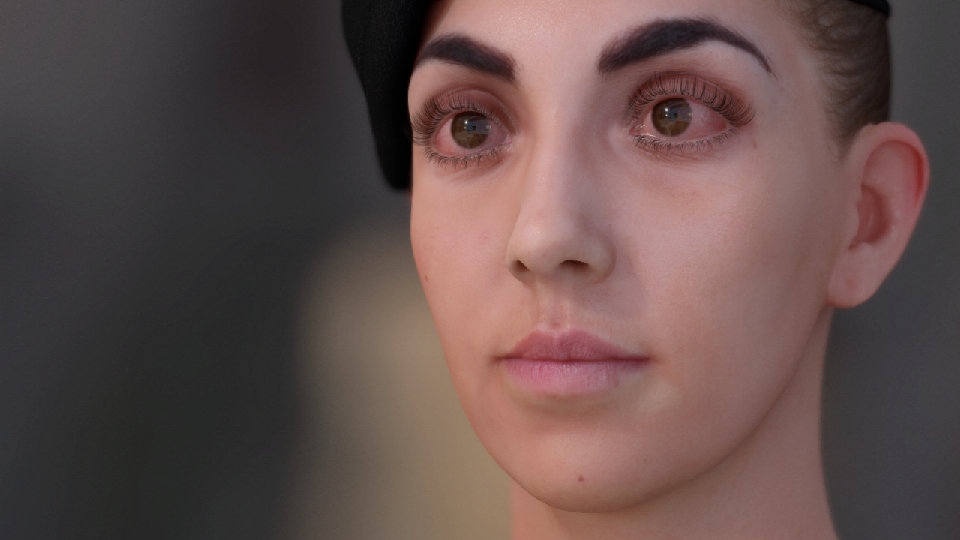
眼周泛红
眼睛很干或者想哭的时候都会导致巩膜发红。
- 独立控制血管和巩膜
- 巧合的是,巩膜的蓝通道恰似血管遮罩。可以使用这个通道的信息去独立控制泛红。
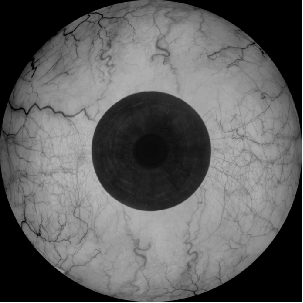
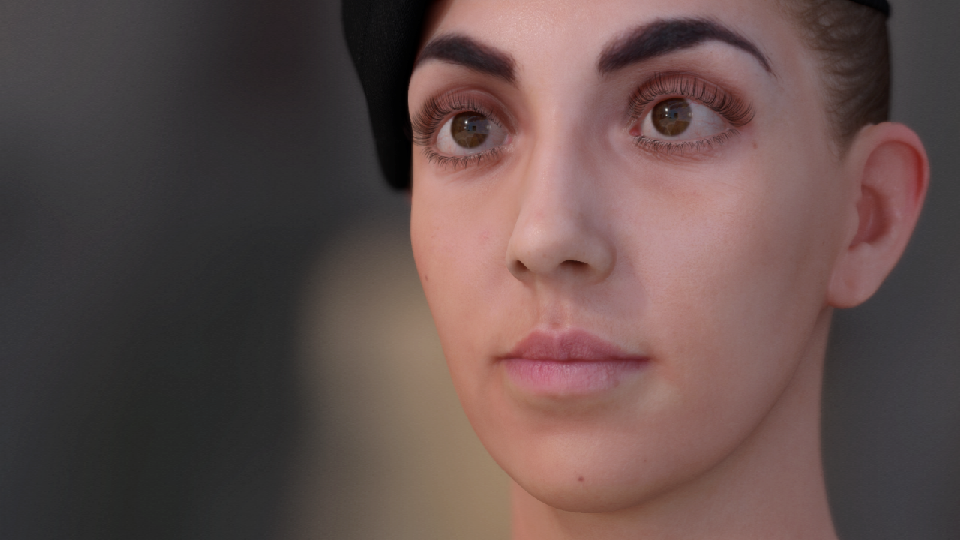 |  |  |
|---|
UE4 Eye Shading Model
眼睛渲染的主要部分还是在 ShadingModels.ush文件中,对应的着色计算如下:
- 注意这里使用了八面体法线(Octahedron Normal):Octahedron normal vector encoding | Krzysztof Narkowicz (wordpress.com)
- 以及球形最大NoH,这个来自于 DecimaSiggraph2017-final。主要是对GGX球谐区域光的改进。

#if IRIS_NORMAL
   const float2 CausticNormalDelta    = float2( GBuffer.StoredMetallic, GBuffer.StoredSpecular ) * 2 - (256.0/255.0);
   const float2 IrisNormalDelta   = float2( GBuffer.CustomData.y, GBuffer.CustomData.z )    * 2 - (256.0/255.0);
   const float  IrisMask = 1.0f - GBuffer.CustomData.w;

   const float2 WorldNormalOct    = UnitVectorToOctahedron( GBuffer.WorldNormal );
   const float3 CausticNormal = OctahedronToUnitVector( WorldNormalOct + CausticNormalDelta );
   const float3 IrisNormal       = OctahedronToUnitVector( WorldNormalOct + IrisNormalDelta );
#else
   const float3 IrisNormal       = OctahedronToUnitVector( GBuffer.CustomData.yz * 2 - 1 );
   const float  IrisDistance  = GBuffer.StoredMetallic;
   const float  IrisMask     = 1.0f - GBuffer.CustomData.w;

   // Blend in the negative intersection normal to create some concavity
   // Not great as it ties the concavity to the convexity of the cornea surface
   // No good justification for that. On the other hand, if we're just looking to
   // introduce some concavity, this does the job.
   const float3 CausticNormal = normalize(lerp(IrisNormal, -N, IrisMask*IrisDistance));
#endif

   BxDFContext Context;
   Init( Context, N, V, L );
   SphereMaxNoH( Context, AreaLight.SphereSinAlpha, false );
   Context.NoV = saturate( abs( Context.NoV ) + 1e-5 );
   Context.VoH = AreaLight.bIsRect ? Context.NoV : Context.VoH;

   // F_Schlick
   float F0 = GBuffer.Specular * 0.08;
   float Fc = Pow5( 1 - Context.VoH );
   float F = Fc + (1 - Fc) * F0;

   FDirectLighting Lighting;

   if( AreaLight.bIsRect )
   {
      Lighting.Specular = RectGGXApproxLTC( GBuffer.Roughness, F0, N, V, AreaLight.Rect, AreaLight.Texture );
   }
   else
   {
      float a2 = Pow4( GBuffer.Roughness );
      float Energy = EnergyNormalization( a2, Context.VoH, AreaLight );

      // Generalized microfacet specular
      float D = D_GGX( a2, Context.NoH ) * Energy;
      float Vis = Vis_SmithJointApprox( a2, Context.NoV, NoL );

      Lighting.Specular = AreaLight.FalloffColor * (Falloff * NoL) * D * Vis * F;
   }

   float IrisNoL = saturate( dot( IrisNormal, L ) );
   float Power = lerp( 12, 1, IrisNoL );
   float Caustic = 0.8 + 0.2 * ( Power + 1 ) * pow( saturate( dot( CausticNormal, L ) ), Power );
   float Iris = IrisNoL * Caustic;
   float Sclera = NoL;

   Lighting.Diffuse = 0;
   Lighting.Transmission = AreaLight.FalloffColor * ( Falloff * lerp( Sclera, Iris, IrisMask ) * (1 - F) ) * Diffuse_Lambert( GBuffer.DiffuseColor );
   return Lighting;
材质
数字人类——Mike
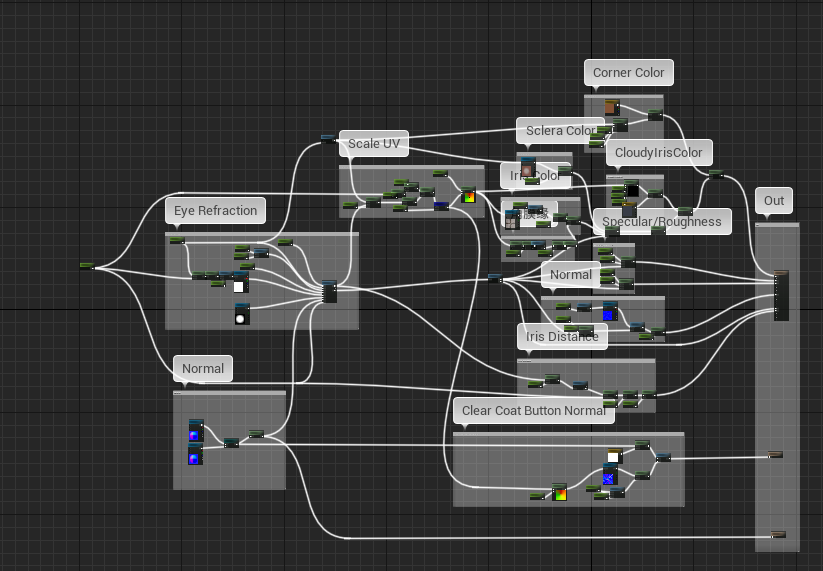
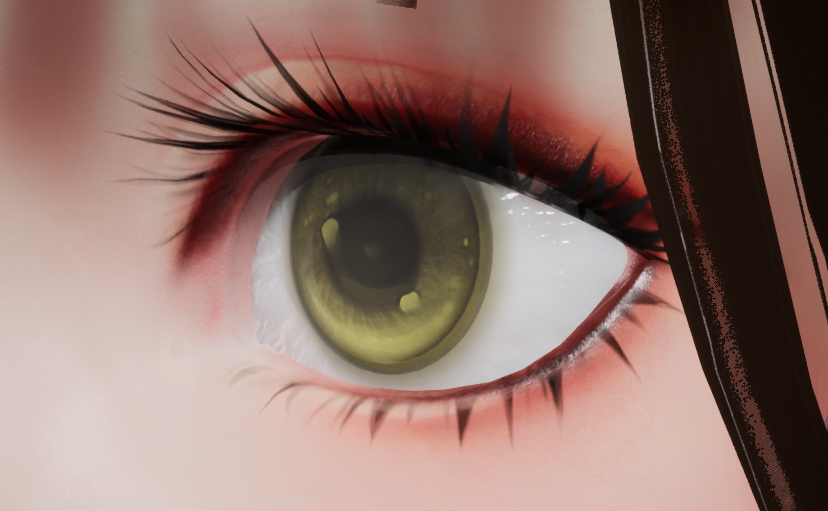
眼球材质
 |  |
|---|
Epic开源的数字人类Mike中材质连得乱七八糟没有条理,看上去十分复杂,但其实只要把各个节点拉开,就能比较容易理解了。
Eye Refraction
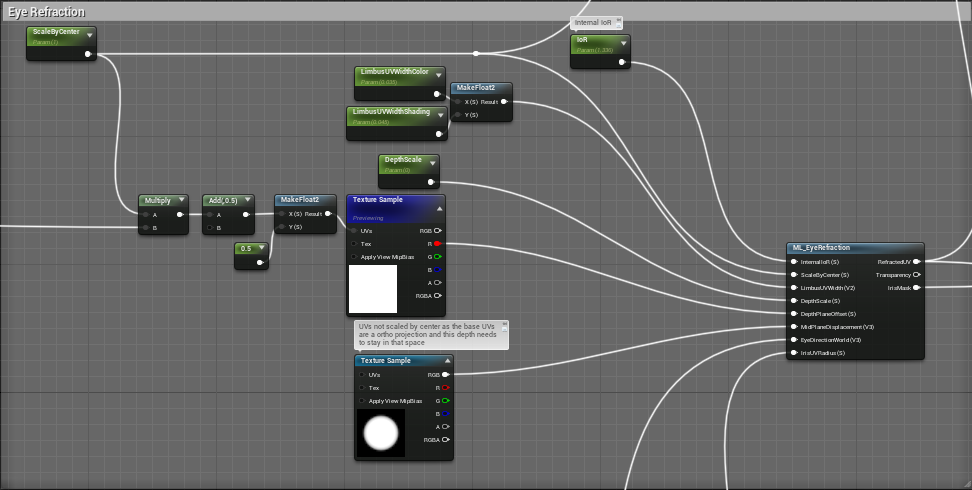
这里先从输入输出简单分析。
输入:
- Internal IOR
- 内部折射率,由IOR参数直接提供。这个参数会影响虹膜的折射表现
- ScaleByCenter
- 眼球的缩放,由ScaleByCenter参数提供。
- LimbusUVWidth
- 角膜缘的宽度,由LimbusUVWidthColor和LimbusUVWidthShading组成2D变量提供。
- DepthScale
- 虹膜深度,由DepthScale参数提供。影响虹膜折射,数值越大折射越明显。
- DepthPlaneOffset
- 深度平面偏移,由ScaleByCenter和Iris UV Radius计算得到UV后采样纹理得到。用于缩放瞳孔。
- MidPlaneDisplacement
- 中平面偏移,由纹理采样提供。决定角膜平面到瞳孔平面的深度偏移,瞳孔周边的偏移会较小。
- EyeDirectionWorld
- 世界空间的眼球方向,由眼部法线转换到世界空间后提供。
- IrisUVRadius
- 虹膜UV半径,由Iris UV Radius参数提供。
输出:
- RefractedUV
- 经过折射之后的UV,用于采样虹膜和巩膜纹理,以及计算IrisDistance。
- Transparency
- 虹膜颜色透明度,未使用。
- IrisMask
- 用于虹膜遮罩。
在材质函数内部,计算如下:
- IrisMask
- 通过IrisUVRadius、UV、LimbusUVWidth计算得到,过程在CustomNode中
// Iris Mask with Limbus Ring falloff
UV = UV - float2(0.5f, 0.5f);

float2 m, r;
r = (length(UV) - (IrisUVRadius - LimbusUVWidth)) / LimbusUVWidth;
m = saturate(1 - r);
m = smoothstep(0, 1, m);
return m;- Refraction Direction
- 折射向量也是通过Custom计算,输入为
float airIoR = 1.00029;
// 折射率
float n = airIoR / internalIoR;
// 朝向
float facing = dot(normalW, cameraW);
// 由朝向确定折射的影响
float w = n * facing;
// 中间量
float k = sqrt(1+(w-n)*(w+n));
// 计算得到折射向量
float3 t;
t = (w - k)*normalW - n*cameraW;
t = normalize(t);
// 取反
return -t;- Refracted UV Offset
- Scale Refracted Offset Direction
- 这是一个中间步骤,这一步首先通过几个深度平面值处理得到角膜到虹膜的高度差,乘上方向就是缩放后的的折射向量。
- Scale Refracted Offset Direction
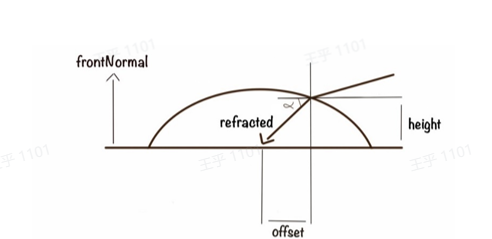
Derive tangents
- 这一步首先使用世界空间(1,0,0)和眼睛法线计算得到归一化的中间向量。
- 之后和上一步得到的缩放后的折射向量计算得到Offset
最终UV
- 使用偏移量得到RefractedUV,并使用IrisMask插值得到。
Scale UV
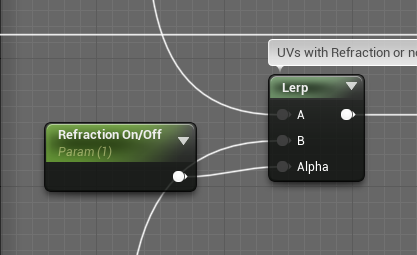
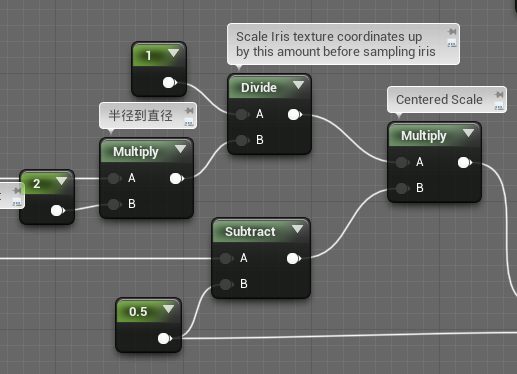
得到折射UV之后,首先用Refraction On/Off向量在常规UV和折射UV之间插值,以方便美术调整效果。然后根据虹膜半径缩放。注意这里要先减去0.5偏移回原点再移回(0.5,0.5)。
 |  |
|---|
之后缩放瞳孔:
// Scale UVs from from unit circle in or out from center
// float2 UV, float PupilScale

float2 UVcentered = UV - float2(0.5f, 0.5f);
float UVlength = length(UVcentered);
// UV on circle at distance 0.5 from the center, in direction of original UV
float2 UVmax = normalize(UVcentered)*0.5f;

float2 UVscaled = lerp(UVmax, float2(0.f, 0.f), saturate((1.f - UVlength*2.f)*PupilScale));
return UVscaled + float2(0.5f, 0.5f);
BaseColor
这部分由之前得到的UV采样各个贴图后插值计算得到,由Corner、Sclera、Iris、Limbus以及CloudyIris组成
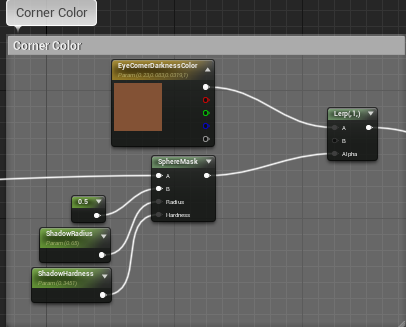 | 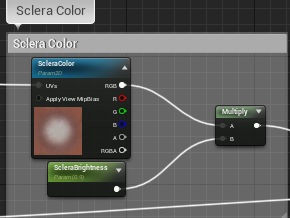 | 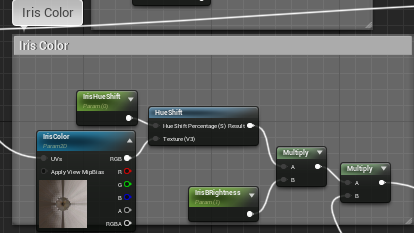 |
|---|
 | 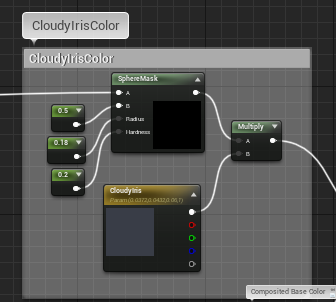 |
|---|
Specular/Roughness
这部分只是简单地使用IrisMask区分了不同区域的Specular和Roughness
Normal
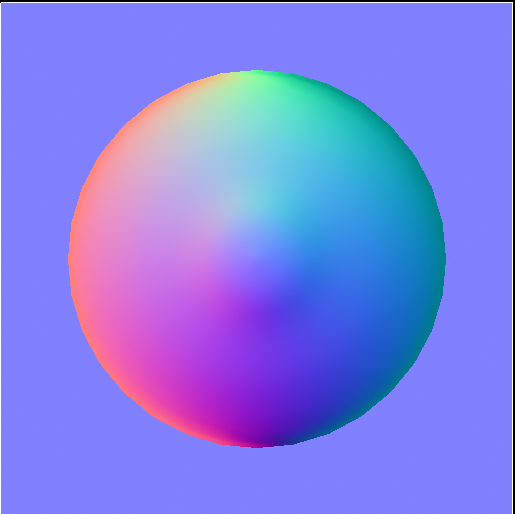 | 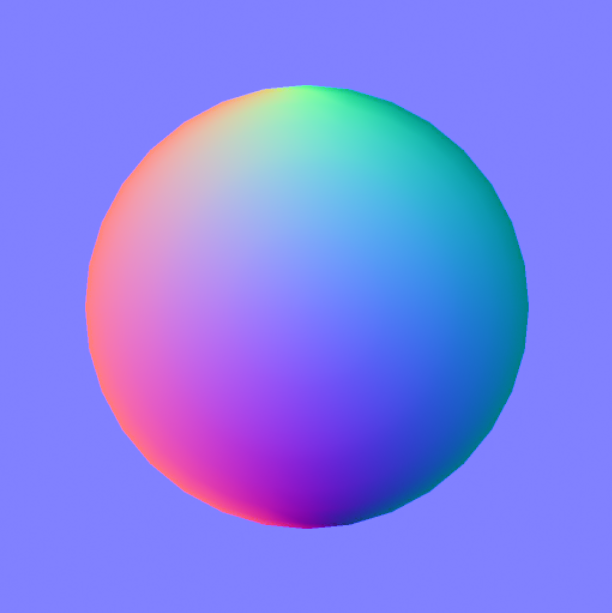 |  |
|---|
两种法线纹理的区别在于中间的眼珠部分有没有突起。同时世界空间法线也作为Tangent直接输出。
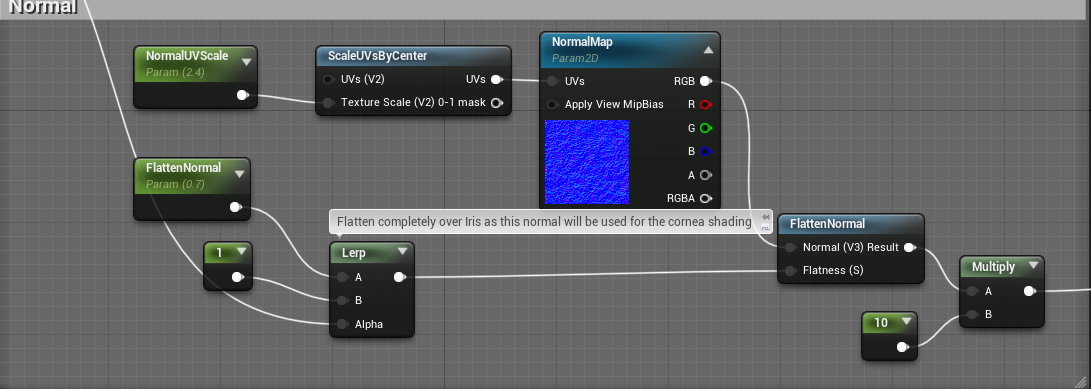
而在Normal输出部分,简单的处理并叠加细节法线,以及平坦化之后给到Normal参数上。
Iris Distance
先缩放以匹配虹膜的UV,随后校准距离输出给着色器。
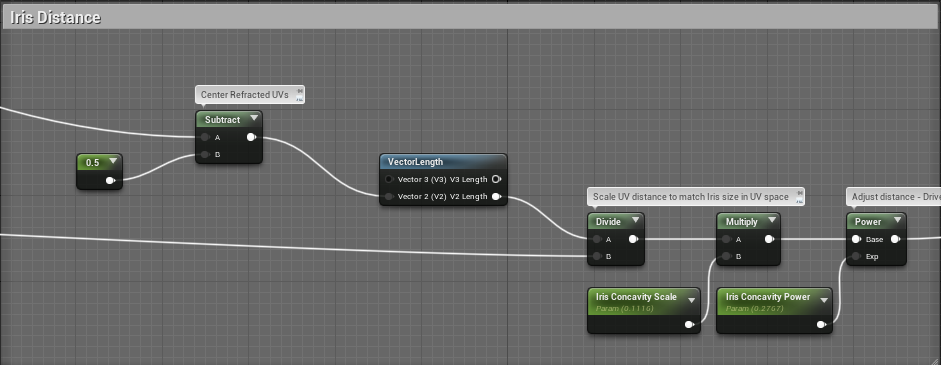
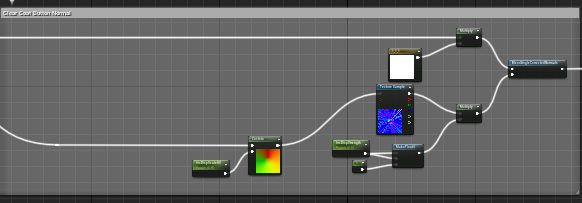
Clear Coat Button Normal
由于眼部的渲染采用了类似与Clear Coat的路径,所以这里可以将底部的虹膜法线输出到ClearCoatButtomNormal节点。
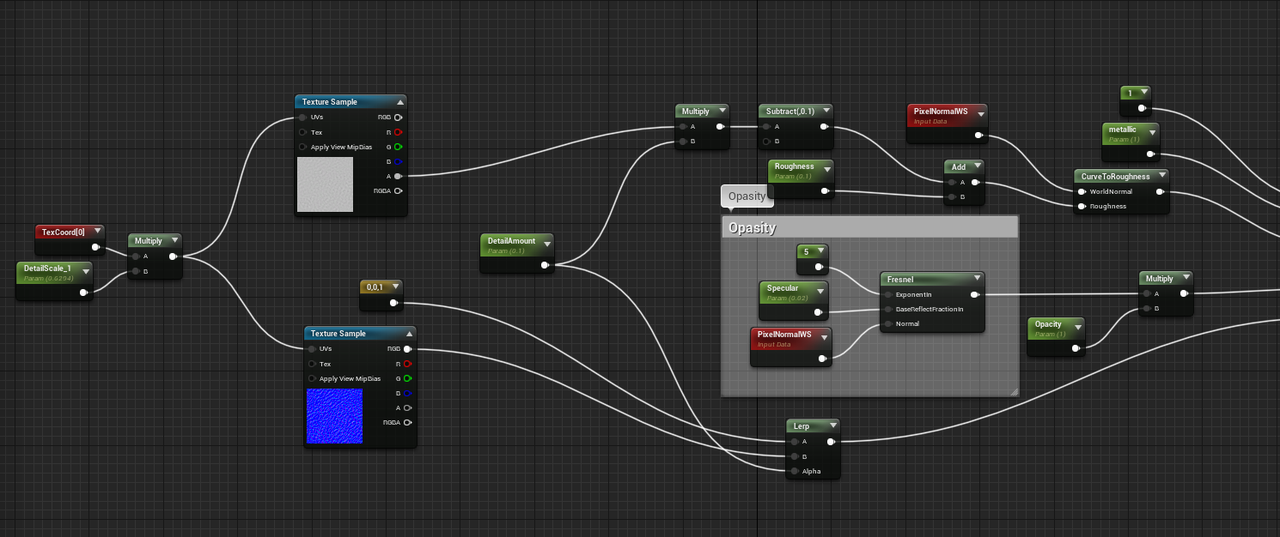
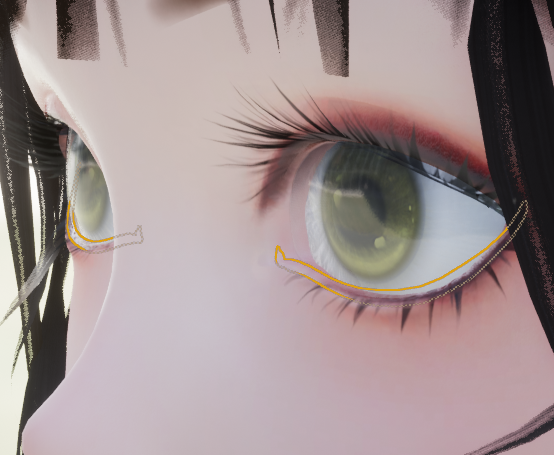
眼睑湿润表现
按照动视暴雪的分享,这里增加了眼睑结构,用于表现眼睛的水润效果,材质并不复杂,看看就好。
 |  |
|---|
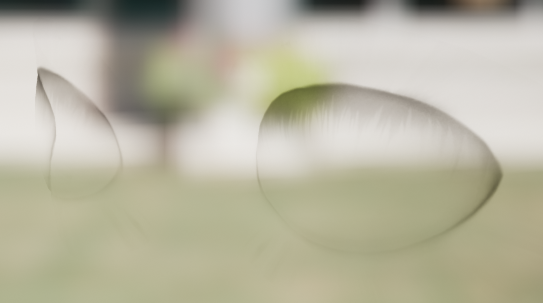
睫毛倒影
虽然Mike的方案使用接触阴影体现睫毛对眼睛的影响,但是接触阴影本身效果不太理想,且难以清晰反射睫毛形状,所以SuperStar直接使用一个单独的面片绘制Fake Shadow。
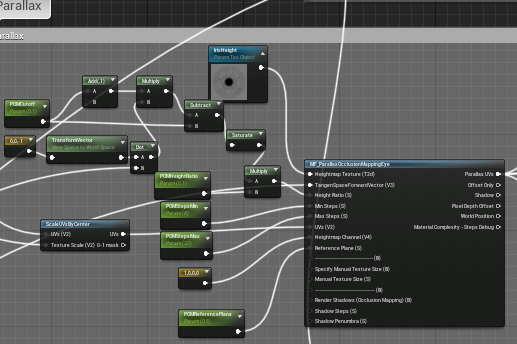
MetaHuman
MH的方案基于Mike的方案主要增加了视差计算,并对其他部分增加了一些细节。
